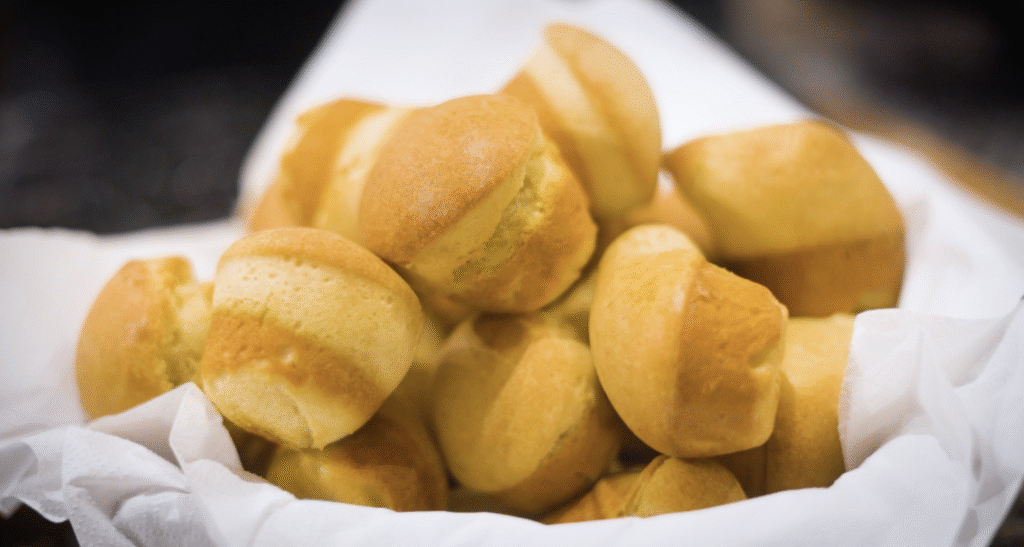
Soft, buttery, slightly sweet sourdough brioche rolls for every holiday table
These Festive Mini Brioches are little golden pillows of joy — soft, airy, incredibly buttery, and lightly sweet. They’re perfect for Thanksgiving, Christmas, or any feast where you want bread that looks impressive but feels cosy and homemade.
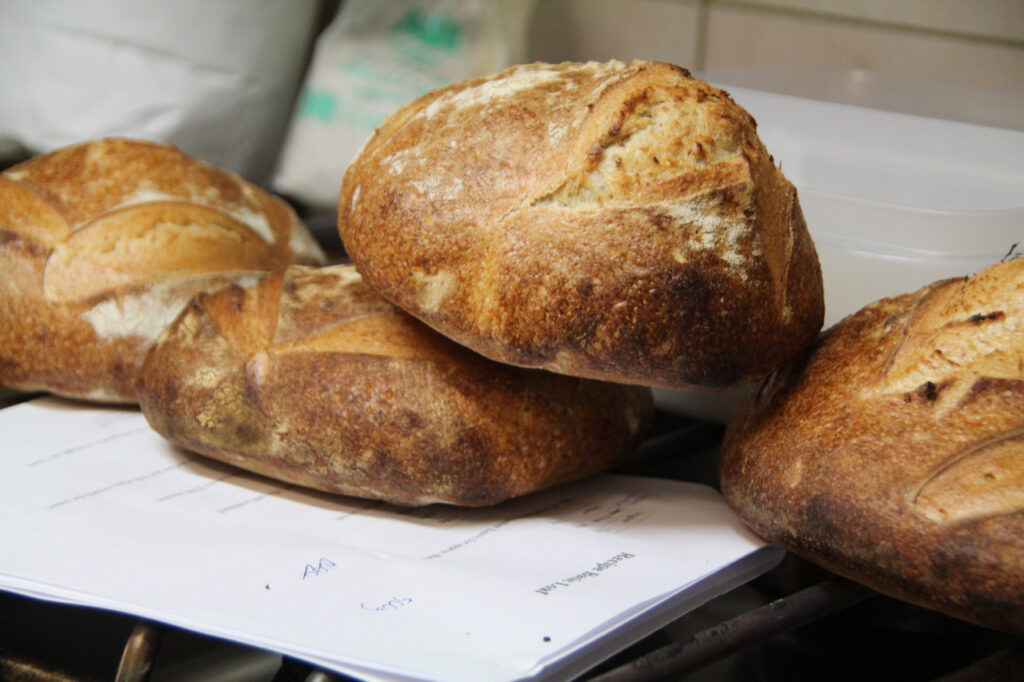
Because they’re made with sourdough, they develop a deep, rich flavour and a delicate texture that is unlike anything you can buy. They take time, but the process is simple, structured, and so satisfying.

You’ll love these because they’re beautifully soft and buttery yet still light enough to enjoy with a big festive meal. The sourdough brings a gentle tang and incredible depth of flavour, while the long, slow proofing gives the dough that silky, stretchy texture brioche is known for. They rise into perfect domes, bake into a gorgeous golden brown, and make your entire kitchen smell like a holiday bakery. They’re everything a festive bread roll should be.

Serves:
24 mini brioches
Time to Prepare:
24 hours

Time to cook or cure:
10-15 min
Skill
Baking

Serves:
24 mini brioches
Time to Prepare:
24 hours
Time to cook or cure:
10-15 min
Skills:
Baking

50 g (2 tbsp) active sourdough starter
50 g (¼ cup + 1 tbsp) bread flour
150 g (5.3 oz) active sourdough starter
(Made from 50 g water, 50 g flour, 50 g starter)
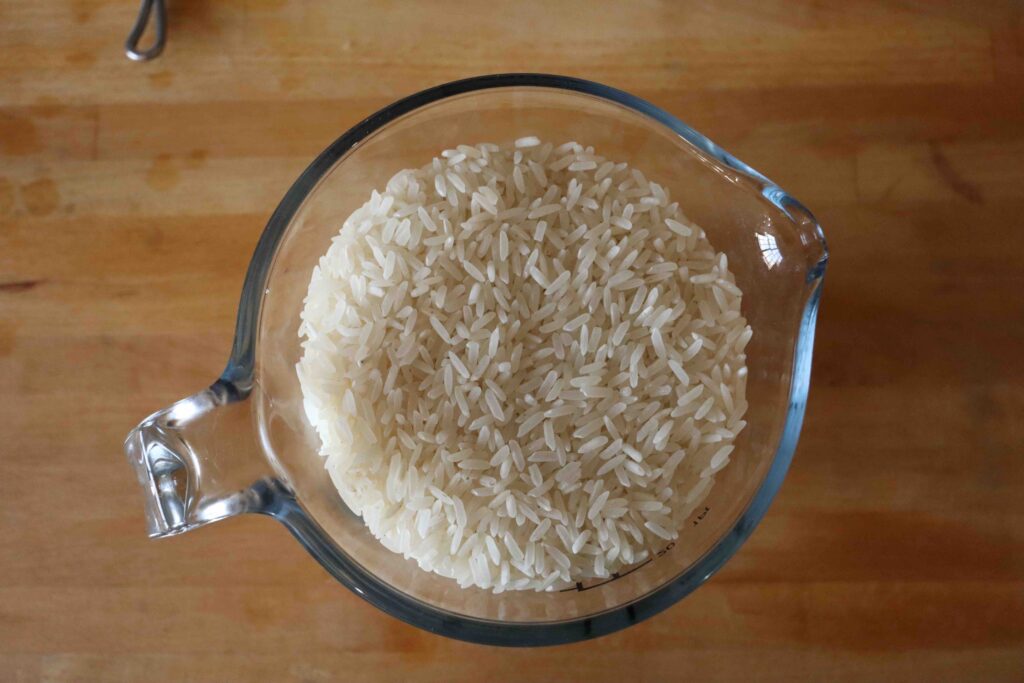
350 g (2 ¾ cups) bread flour
50 g (¼ cup) sugar
8 g (1 ¼ tsp) fine salt
4 large cold eggs (about 200 g / 7 oz)
100 g levain (all from above)
120 g (½ cup + 1 tbsp) unsalted butter, room temperature but still slightly cool, cut into pieces
How to keep it strong, predictable, and ready for baking
A sourdough brioche only turns out light and fluffy if your starter is healthy and active. These guidelines will help a complete beginner understand how to look after a starter and how to know when it is ready to use.
Your starter is a living culture. If you feed it consistently, it becomes strong and reliable.
A simple feeding method is this:
1 part starter
1 part flour
1 part water
For example: 50 g starter, 50 g flour, 50 g water.
Stir well and let it rise at room temperature.
The water should feel slightly warm to the touch, never hot.
Ideal temperature: 26–28°C (79–82°F).
Warm water helps the yeast grow. Hot water can kill it.
Bread flour or strong white flour works best because it gives the yeast more strength and helps the starter rise better.
Whole wheat flour can make your starter more active if it needs a boost.
A ready-to-use starter will:
Rise and double in size within 4–6 hours of feeding
Have lots of bubbles throughout
Smell pleasantly tangy or yoghurty
Look slightly domed on top (not flat or sunken)
If it looks collapsed and watery on the sides, it has passed its peak. Feed it again and wait until it rises.
For a recipe like brioche, you need the starter to be at its strongest.
If you have just taken it from the fridge, plan to feed it twice before baking so that it wakes up fully.
For people who bake once a week or less:
Feed the starter
Let it rise for 1 hour
Put it in the fridge
Feed it again once a week
Before baking, take it out, feed it, let it rise, and use it when it is active again.
Your starter should look like thick pancake batter.
If it becomes too runny, add a little flour during the next feeding.
If it is too stiff, add a little water.
A healthy starter smells fresh, tangy, slightly fruity, or yoghurty.
If it smells like nail polish remover, it is simply hungry. Feed it.
If it smells rotten or mouldy, you must start again.
If you see a layer of greyish liquid on top, it just means your starter has run out of food.
Pour it off or stir it in and feed the starter again. It is not dangerous.
Warm kitchens make the starter rise faster.
Cool kitchens slow everything down.
Ideal range: 23–26°C (73–79°F).
If your kitchen is cold, place the jar:
In the oven with only the light on
Near a warm appliance
In a warm cupboard
Do not place it somewhere actually hot.
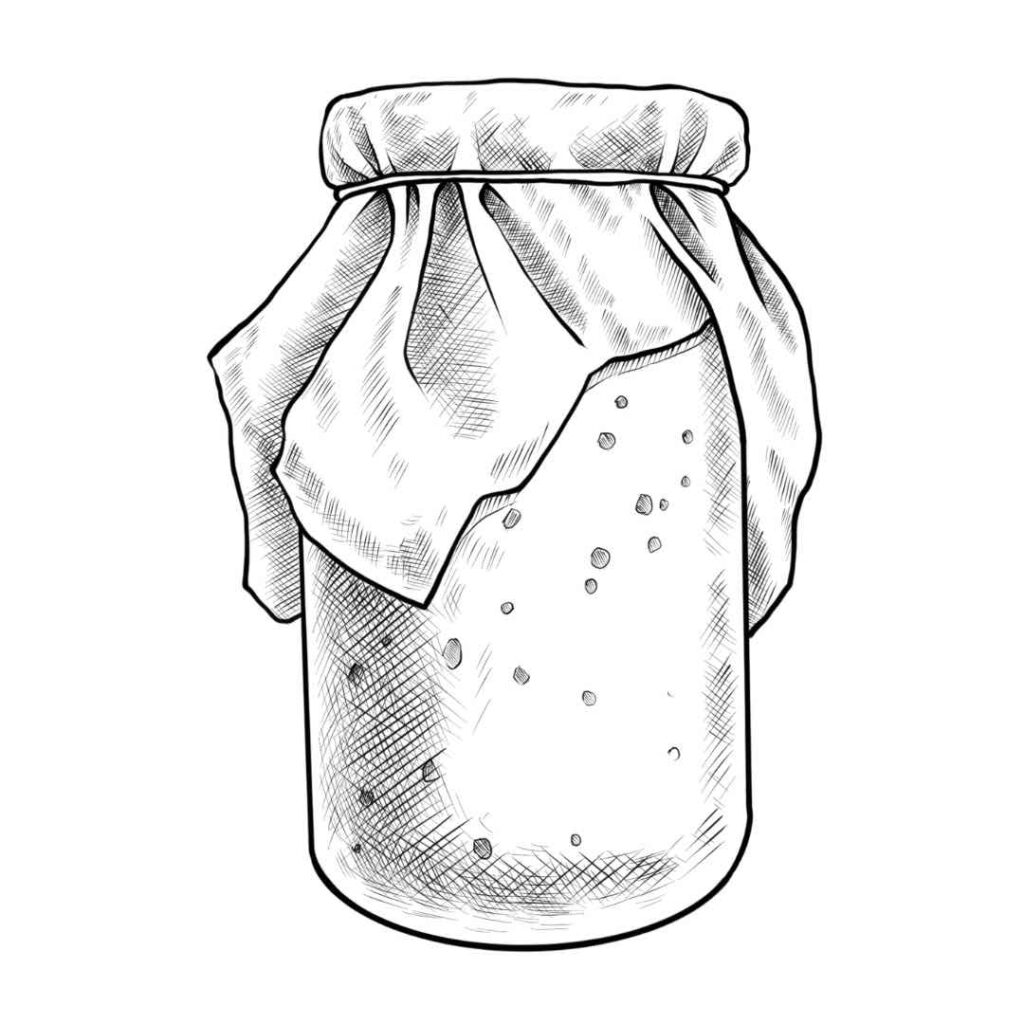
Choose a jar with enough room for the starter to double in size.
Do not close the lid tightly. The starter needs to breathe.
Wipe down the jar often and scrape down the sides.
Every starter behaves differently.
The timing in recipes is only a guideline.
If your starter has doubled, is bubbly, and smells good, then it is ready.
If it hasn’t risen much, wait until it does. Don’t rush the dough.
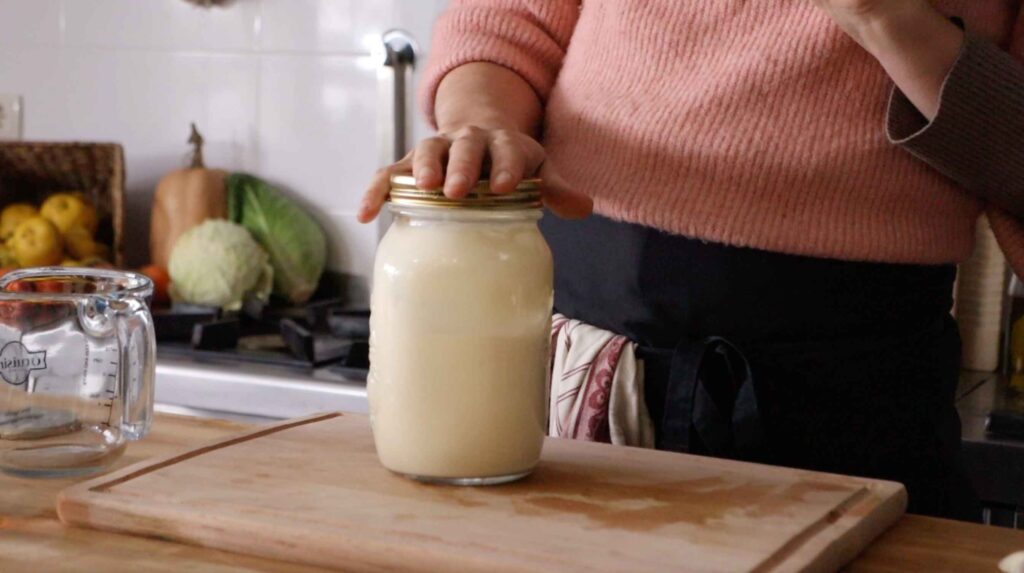
Weigh out 150 g active sourdough starter, fed at least 4 hours earlier and at peak activity.
In a stand mixer bowl, combine:
350 g flour
50 g sugar
8 g salt
150 g active starter
4 cold eggs
Mix with the dough hook for 5 minutes until the dough begins to come together.
With the mixer running, add the softened butter one tablespoon at a time.
Continue mixing for at least 15 minutes, until the dough becomes smooth, elastic, and releases cleanly from the sides of the bowl.
Cover and refrigerate for 12 hours.
This slow proof builds flavour and strengthens the dough.
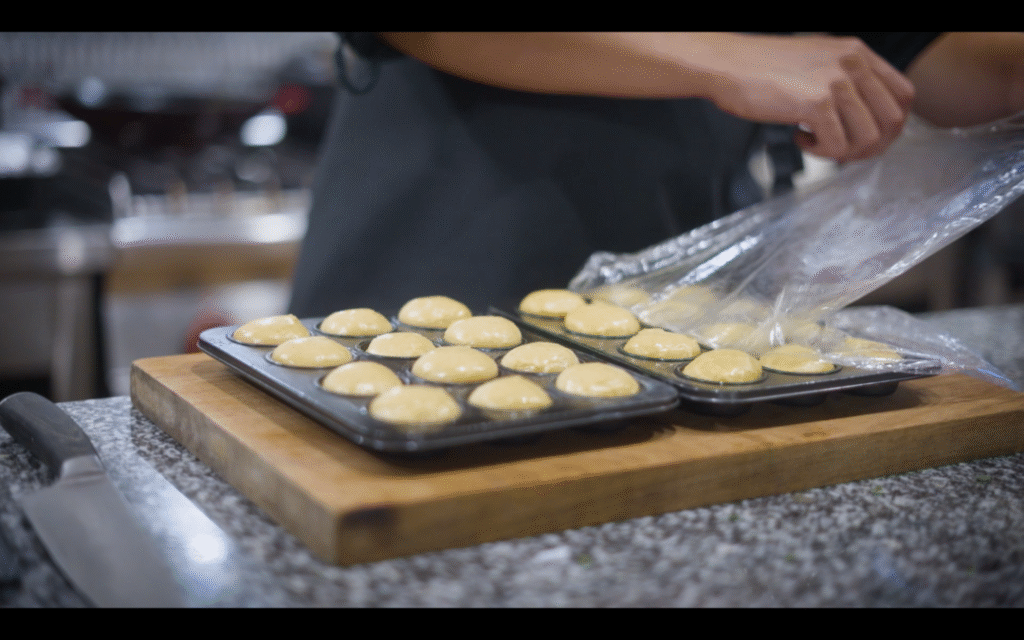
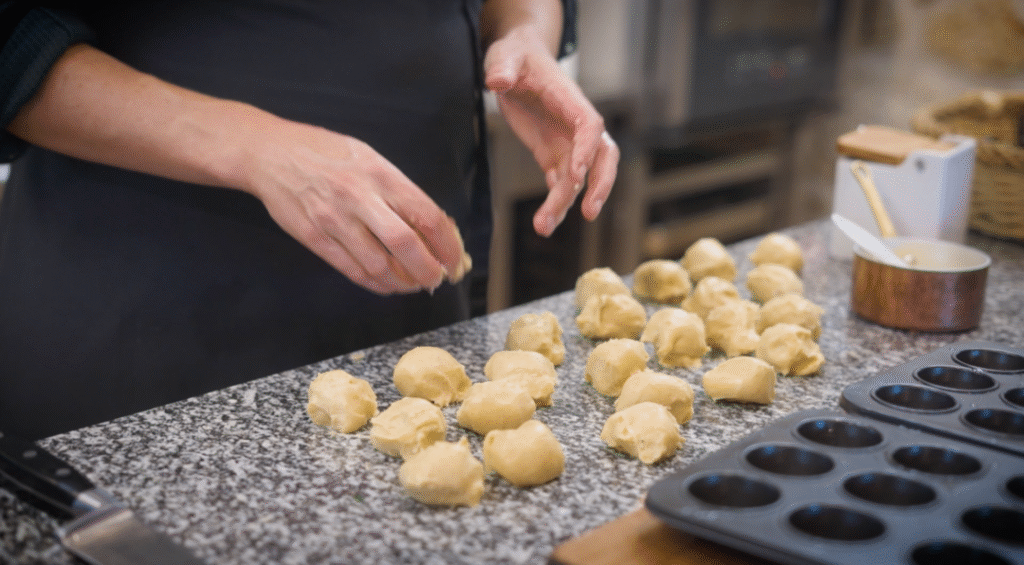
Remove the chilled dough and divide into 24 equal pieces.
Use a scale if you want perfect uniformity.
Using the palm of your hand, make circular motions on the workbench, pressing lightly to create surface tension and form smooth, round rolls.
Place each dough ball into a buttered mini muffin tin.
Let them rise for 6 hours in a warm spot (26°C / 79°F), covered with greased cling film or a damp towel.
Brush the tops gently for extra shine.
Bake at 190°C / 375°F for 10–15 minutes, until golden.
Tent with foil if browning too quickly.
Internal temperature should reach 92–94°C (198–202°F) for perfectly baked brioche.
Keeps 2 days at room temperature, wrapped
Reheat 3–5 minutes in a warm oven for freshness
Freeze for up to 2 months; thaw and warm before serving
Bread flour is essential for strength and structure. Plain flour won’t give the same rise.
Brioche dough is naturally sticky. Trust the process — it firms up during the cold proof.
You can adapt them to instant yeast, but you’ll lose the depth of flavour sourdough brings.
Yes — bake them in regular muffin tins for 18–20 minutes.

Recipe Categories

We lost so much.
Our pastures are destroyed, many of our old olive trees, the young orchards, the irrigation systems, our most important tools, water pumps, and power setup—either melted or destroyed.
Our food and hay stores, the fences, and many of the stable buildings are either damaged or lost entirely.
What took years to build was reduced to ash in a single afternoon.
Ready to Recharge and Enjoy Real Food in Nature?

Cook, connect, and grow in the heart of our regenerative farm.
Real food. Deep rest. Lifelong memories.