Shelf-Stable Deconstructed Stuffed Peppers (Pressure-Canned)
Perfect for large harvests, meal prep, and pantry storage

Serves:
17 large Green Peppers, or 5 x 1L (1 quart) maison jars,
Time to Prepare:
25 min
Time to cook or cure:
90 min
Skill
Canning
Serves:
17 medium green bell pepper, or 5x1L (1 quart) jars
Time to Prepare:
25 min
Time to cook or cure:
90 min, then let cool down until pressure is completely gone
Skills:
Canning

Ingredients & Tools
Ingredients
For the peppers and the filling
17 medium green bell peppers (after using 8 fresh ones)
1400 g minced meat (3 lb)
3 large onions (≈ 400 g total / 14 oz)
1,5 tbsp (12.5 g) garlic powder
1,5 tbsp dried thyme
1,5 tbsp sweet paprika
1,1/4 tbsp salt
4 L liquid (50% passata + 50% beef stock) (1.1 gallons)
6 bay leaves
300 ml white wine (1 ¼ cups)
For the tomato beef stock
- 4 L liquid (50% passata + 50% beef stock) — 1.1 gallons
- 500 ml extra passata/stock mix — 2 cups
- 300 ml white wine — 1 ¼ cups
- 6 bay leaves
- 1 tbs salt
- Fresh parsley & mint for serving
Tools
For Preparing & Stuffing the Peppers
Large mixing bowl
Sharp chef’s knife
Small paring knife (for coring peppers)
Cutting board
Measuring spoons
Food processor (optional, for chopping onions quickly)
For Making the Broth
Medium bowl or jug for mixing liquids
Whisk or spoon
For Cooking the Stuffed Peppers
- Pressure canner
- Wide mouth funnel
- Jar lifter
For Serving
Ladle
Serving platter or shallow bowls
Herb scissors or small knife (for parsley & mint garnish)
Storage Tips
- Keeps 1 year on the shelf after proper canning techniques
- 3-4 days in the fridge after opening
- Reheat gently on the stove
- Not freezer-friendly (peppers become mushy)
Useful Canning Guidelines to Stuffing Peppers
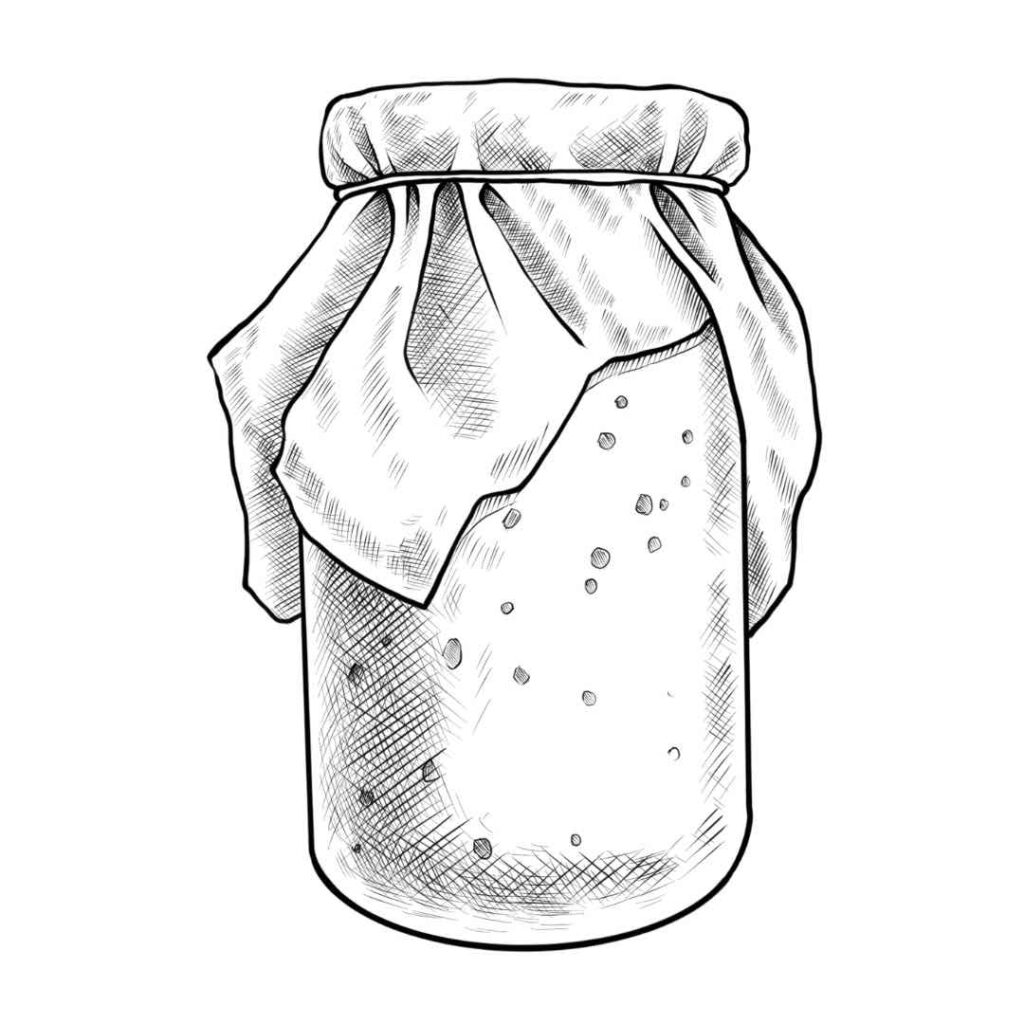
Pressure-canning deconstructed stuffed peppers is the only safe way to preserve this low-acid mix of meat, rice, vegetables, and broth. Whole stuffed peppers are too dense to heat properly in the center, so the peppers must be cut into quarters or large strips before packing. This reduces density, allows heat to penetrate evenly, and ensures the jars reach the 240–250°F (116–121°C) needed to destroy botulism spores. A broth made from passata, beef stock, wine, and bay leaves helps remove air pockets and improves the final texture.
When filling the jars, pack the pepper pieces loosely and layer spoonfuls of the meat mixture between them. Leave 1 inch (2.5 cm) of headspace and pour in the hot broth until the contents are just submerged. Remove all air bubbles, wipe the rims clean, and apply lids fingertip-tight.
Because we live above 300 meters, the jars must be processed at 15 psi: pint jars for 75 minutes, and quart jars for 90 minutes. After processing, allow the pressure canner to cool naturally to zero before removing the jars, then let them rest for 12–24 hours.
Once sealed, the jars will keep for at least a year in a cool, dark pantry. To serve, pour the contents into a pot and boil for 10 minutes, as recommended for all home-canned meat dishes. The result is a deeply flavorful, ready-to-heat stuffed-pepper meal that stores beautifully and turns your harvest into easy weeknight dinners all year long.
How to Make Shelf-Stable Deconstructed Stuffed Peppers (Pressure-Canned)
Step 1 — Prepare the Peppers
- Wash the peppers well.
- Dry each pepper or let air dry
- Slice off the tops (“lids”) and keep them aside.
- Remove seeds and white membranes using a small knife.
Step 2 — Make the Filling
- Finely chop the onions.
- Add onions and minced meat to a large mixing bowl.
- Stir in garlic powder, thyme, paprika, and salt.
- Mix with your hands until everything is well combined.
Step 3 — Stuff the Peppers
- Fill each pepper tightly with the meat mixture.
- Press down to eliminate air pockets.
- Replace the “lids” if you like a rustic look.
- Set aside.
Step 4 — Make the Tomato–Beef Broth
In a jug, whisk together:
- Passata
- Beef stock
- Wine
- Bay leaves
- A pinch of salt
This broth is what makes the peppers impossibly tender and rich in umami.
Step 5 — Can the Stuffed Peppers
Fill the jars
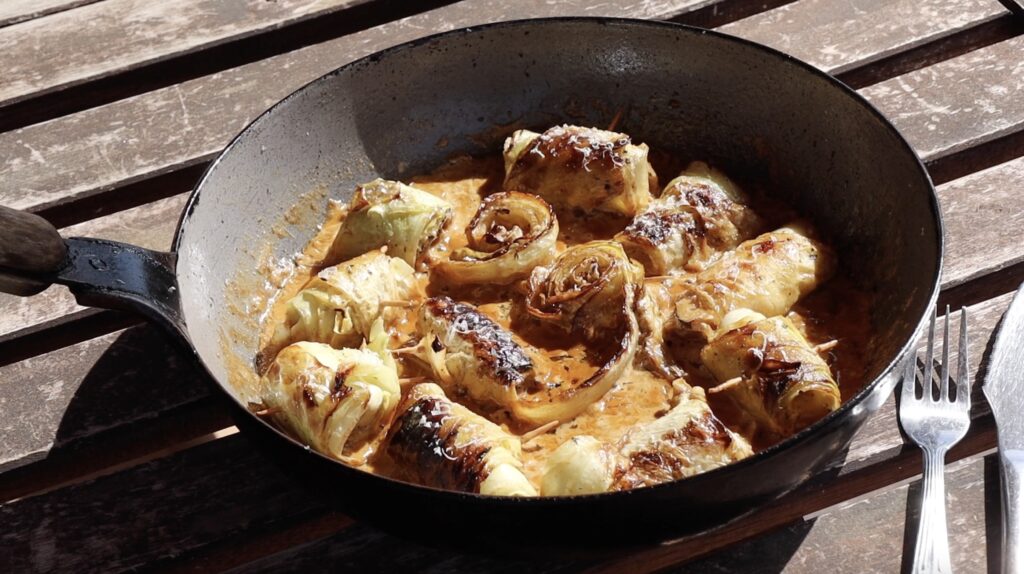
- Cut the peppers into 4 equal quarters, making it impossible for air to get trapped. We can not leave them whole as they are too dense that way, unfortunately.
- Place them loosely in your quart jars and do not pack them tight. The broth should be able to fill up any empty space easily. Leave at least 2,.5 cm or 1 inch headspace between the lid and the top of the filling.
Add Peppers & Broth and close the jars.
- Poor in the broth until you just cover all the filling.
- Wipe of your rims with a clean cloth and place the lids on top. Then close them finger tight with the rings.
Prepare your pressure canner and cook
- Now prepare your pressure canner according to it’s instruction manual, with the right amount of water.
- Place the clean and closed jars inside and seal the lid tightly.
- Make sure the safety instructions for your pressure canner are followed. We need to put it on and release the security valve until it starts steaming.
- Once that happens, you close the valves and wait for the pressure to come up to 15 psi. From that moment on we are cooking the whole for at total of 90 minutes.
- Once the 90 minutes are over, you can turn off the pressure cooker and you need to let it cool down completely on it’s own. DO NOT open the security valves, this will ruin the seal and let the liquid boil out.
- Let them cool down 12 – 24 hours undisturbed. And check the seal. The lid should be concave and vacuum sealed.
Boil 10 min before eating!
Be sure to always boil your low acidic pressure canned food for 10 minuted before eating, as this eliminates all risk of botulism toxins, if they are present.
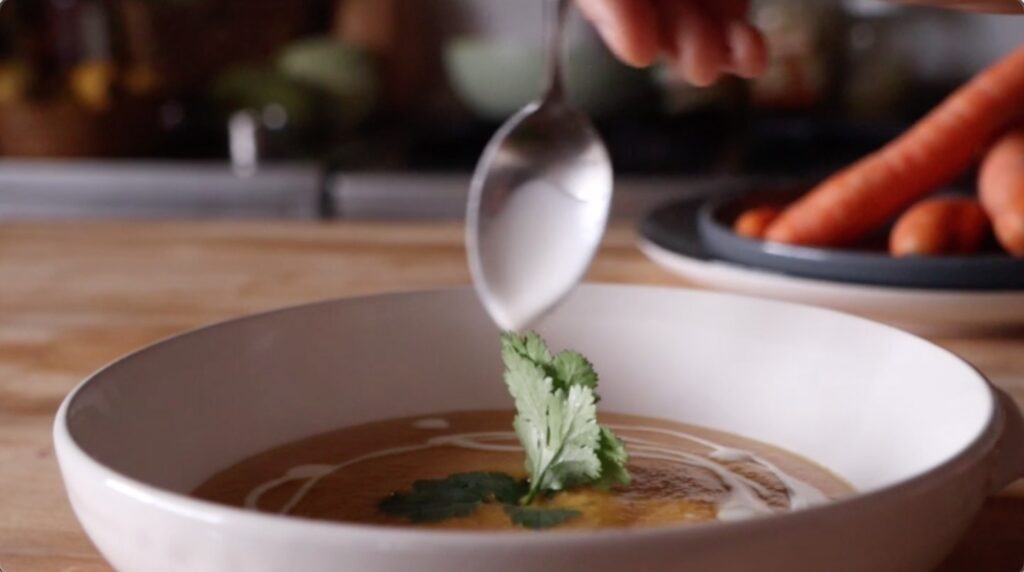
Serve Your Stuffed Peppers with Rice and Beef
Top with:
✔ Fresh parsley
✔ Fresh mint
Serve alongside:
- Potatoes
- Rice
- Crusty sourdough
- Or enjoy them just as they are — tender, juicy, and comforting.
Frequently asked questions
Can I water-bath can this instead of pressure canning?
No — this recipe contains low-acid ingredients (peppers, rice, onions, and any stock you add). A water bath cannot reach the temperatures needed to kill botulism spores.
Can I use red or yellow peppers instead?
Yes. Red and yellow peppers are sweeter, but the cooking method is the same.
Can I leave out the wine?
Yes. Replace the wine with extra stock.
Can I mix different colours of peppers?
Absolutely. Red, yellow, and orange peppers add sweetness and a more aromatic flavour. They also soften faster than green peppers, so mixed-colour batches often cook more evenly.
Can I use cooked meat instead of raw?
Yes, but the texture will be slightly different. Mores loose. This would result in a hot pack. Which measn you could deconstruct the recipe even further and chop everything up to evenly sized chunks, which could be cooked pan fried and then cooked in the broth before packing hot.
What if I don’t want to use wine in the broth?
You can replace the wine with the same amount of broth or water. The wine adds acidity and aroma, but the recipe still works beautifully without it.
Can I add vegetables to the filling?
Yes! Finely diced carrots, celery, courgette, or chopped pepper tops work well. Make sure any added vegetables are chopped small so the filling cooks evenly.
What’s the best way to reheat leftover stuffed peppers?
Gently reheat them in a pan with a splash of broth or water over low heat, or warm them in the oven covered with foil.
How do I reheat the deconstructed stuffed peppers?
Simply heat in a pan or pot for 5–10 minutes. You can also:
spoon it over cooked rice, quinoa, or potatoes,
turn it into a quick soup by adding broth,
or bake it with cheese for a classic stuffed-pepper flavour.
Can I freeze this instead of canning?
Absolutely. It freezes beautifully. Store in airtight containers for up to 6 months. Texture will soften slightly but stays delicious.
Can I reduce the salt?
Yes. Salt is for flavour only in pressure-canned savoury recipes. Feel free to adjust to your preference.
Fermented Vegetables
Pressure Canning

Recipe Categories