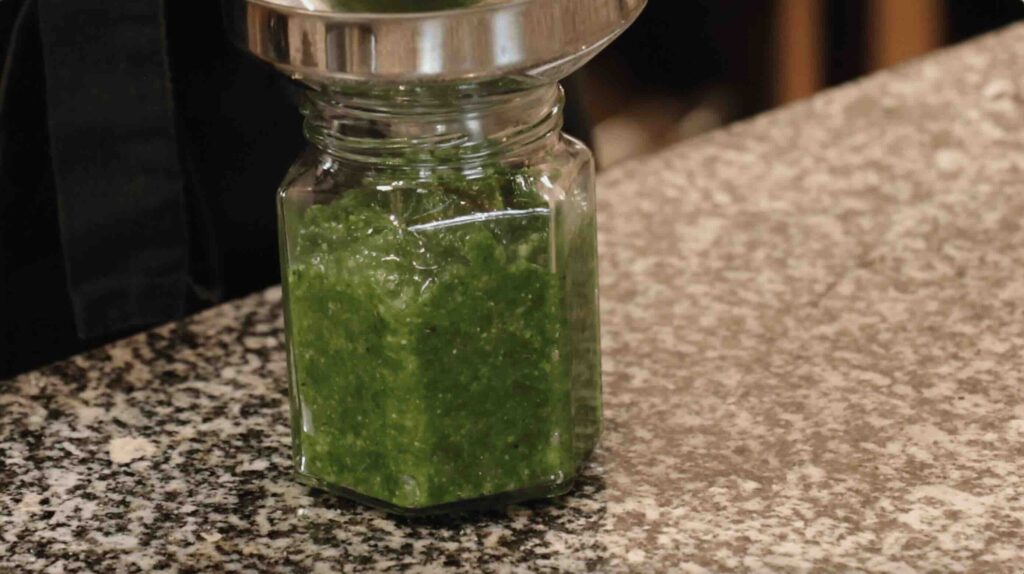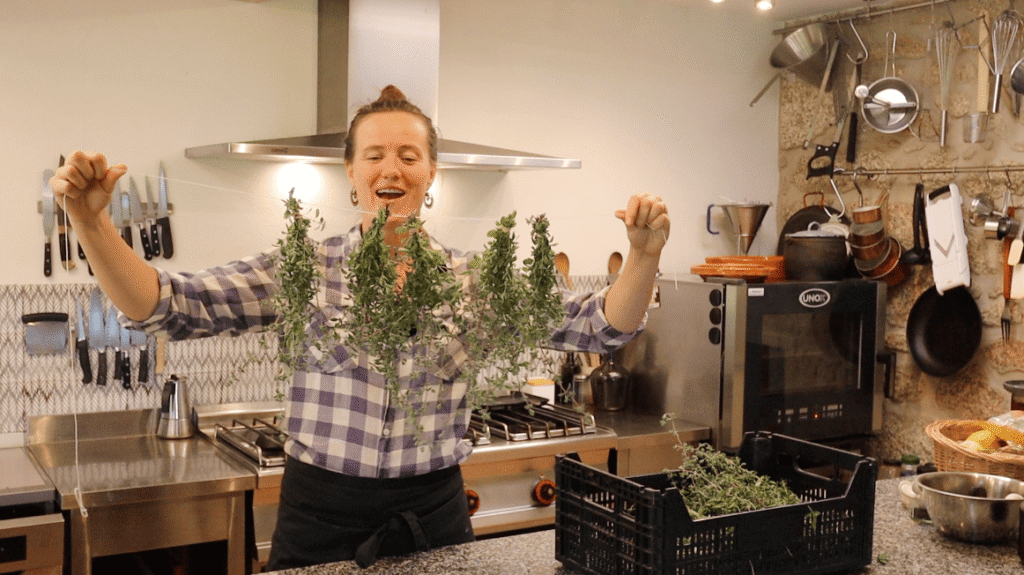
The best way to dry marjoram
Drying herbs is one of the oldest preservation techniques, and marjoram, with its delicate leaves and aroma, lends itself beautifully to this method. If your marjoram is homegrown and clean, there’s no need to wash it—just shake off any dust and you’re good to go. I like to harvest mine into a loose crate and sort through it quickly to remove any unwanted plants.


Serves:
Several jars of dried marjoram
Time to Prepare:
10 minutes

Time to cook or cure:
5–10 days depending on humidity
Skill
Harvesting, tying, air drying
Serves:
Several jars of dried marjoram
Time to Prepare:
10 minutes
Time to cook or cure:
5–10 days depending on humidity
Skills:
Harvesting, tying, air drying

Ingredients & Tools
Ingredients
- Fresh marjoram branches (as much as you’ve harvested)
Tools
- Crate or large bowl
- Elastic bands
- Twine or string
- Dark, well-ventilated room or pantry
Useful guidelines
Avoid washing unless absolutely necessary—moisture slows drying.
Use elastic bands instead of string to adjust as herbs shrink.
Hang upside down in bunches for even drying.
Label and date your dried herbs before storing.
Directions
Simply follow these steps in order to dry marjoram correctly
- Sort through harvested marjoram and remove unwanted plants.
- Gather small handfuls and secure tightly with an elastic band.
- Hang bunches upside down from a string or rod in a dark, dry room.
- Leave for 5–10 days until leaves are crisp and dry.
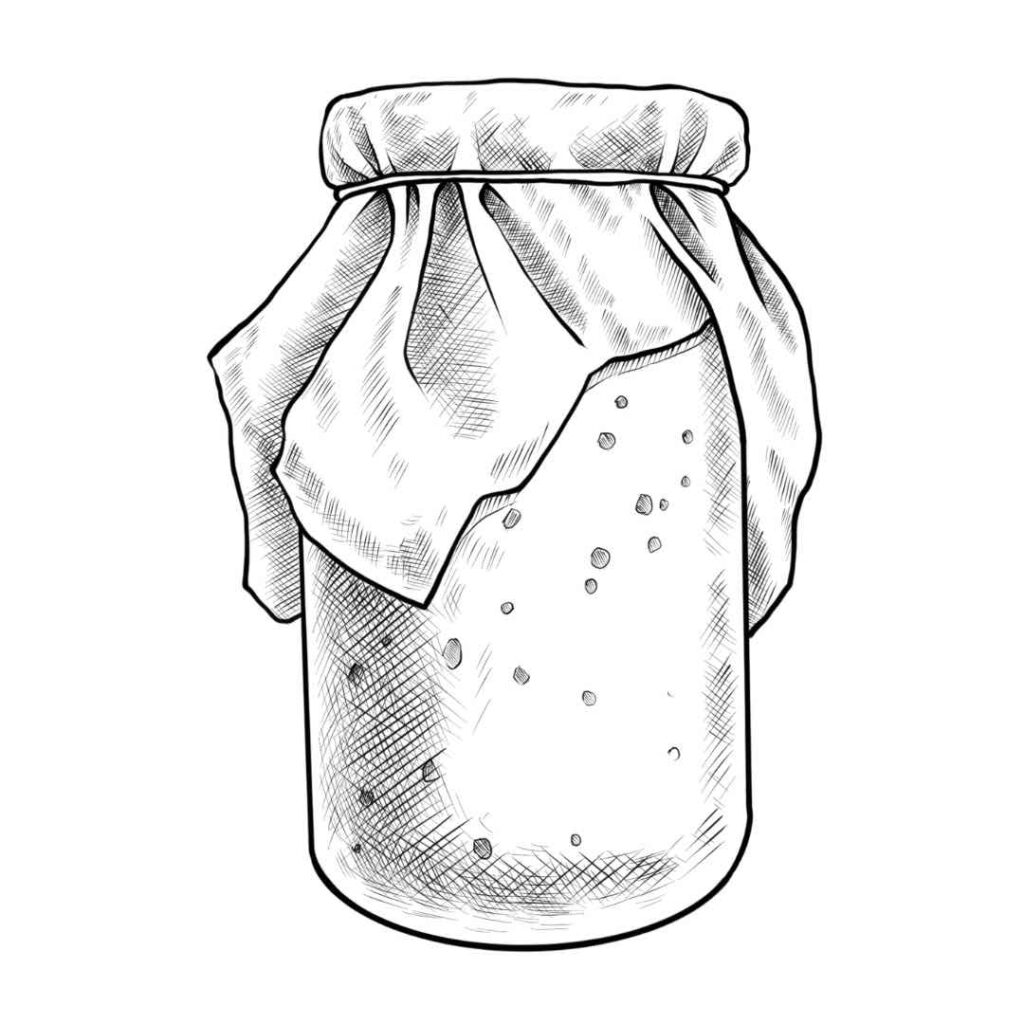
- Store dried bunches in airtight containers or remove leaves and jar them.
Storage
Store dried marjoram in airtight jars, away from direct sunlight and moisture. Label each jar with the date. Properly dried herbs can last for up to a year with full flavor.
Frequently asked questions
Q: Do I need to wash the marjoram before drying?
A: Only if it’s visibly dirty. If you do wash it, make sure it’s fully dry before bundling.
Q: Can I dry it in the oven?
A: You can, but air drying preserves more of the oils and scent. Only use the oven if your area is too humid.
Q: How do I know it’s fully dry?
A: The leaves should feel crisp and crumble easily between your fingers.
Q: What can I do with the stems?
A: Tie them into smudge bundles to use for smoking food or lighting fires!
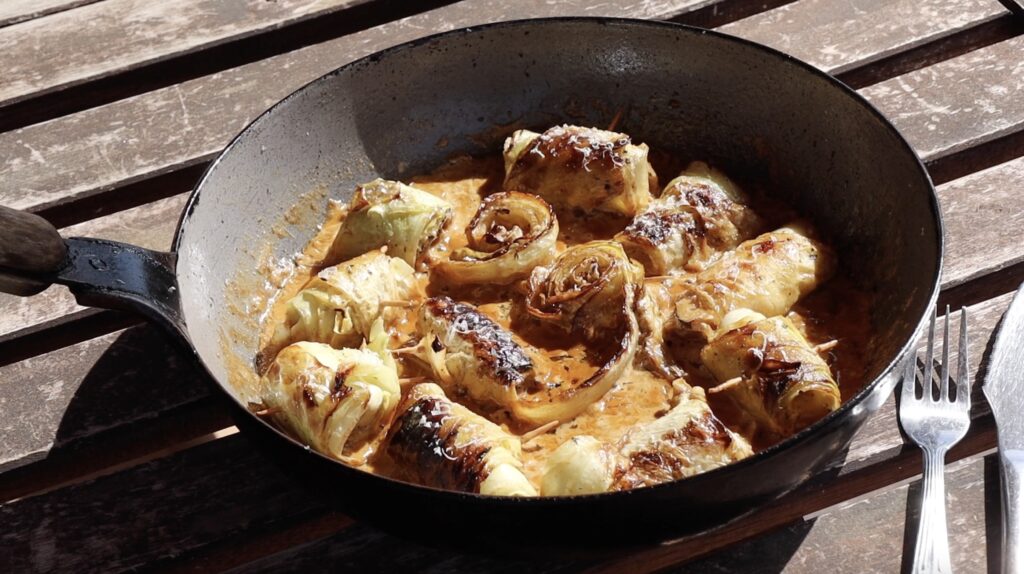
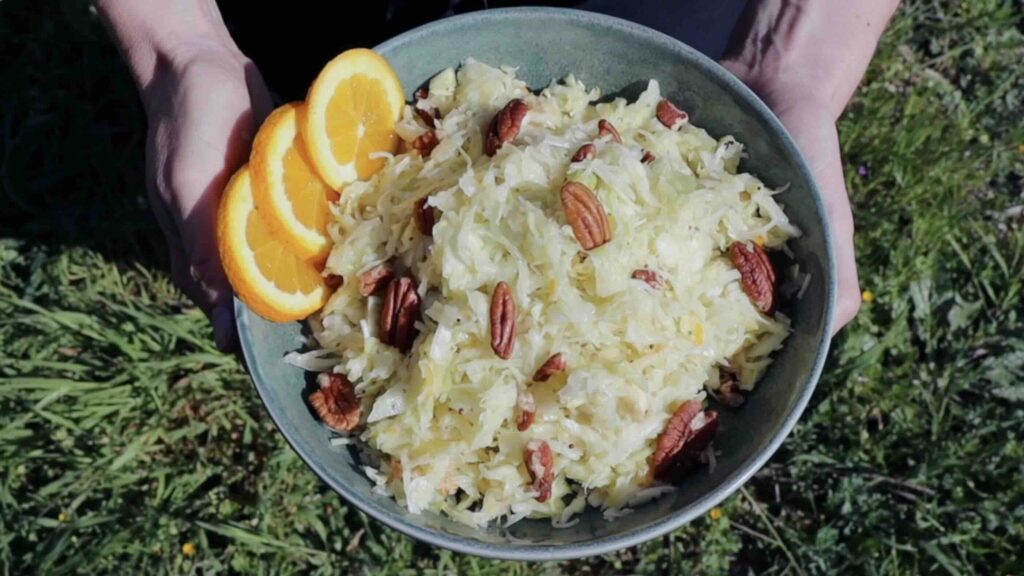
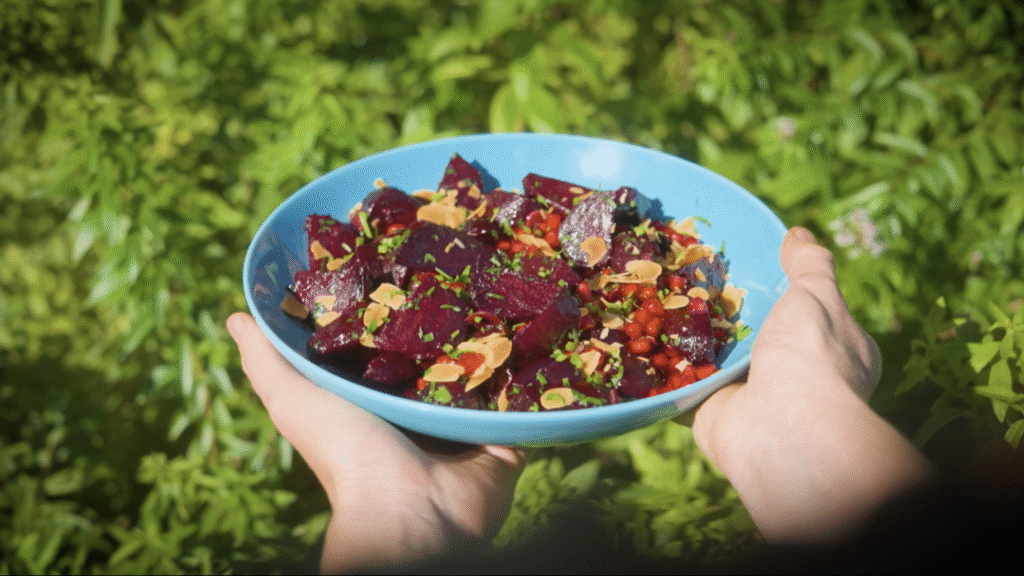
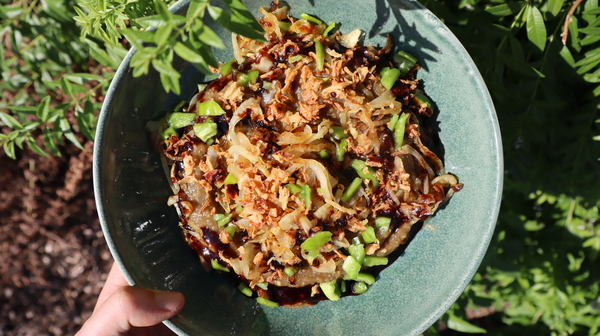
Fermented Vegetables

Recipe Categories