Title

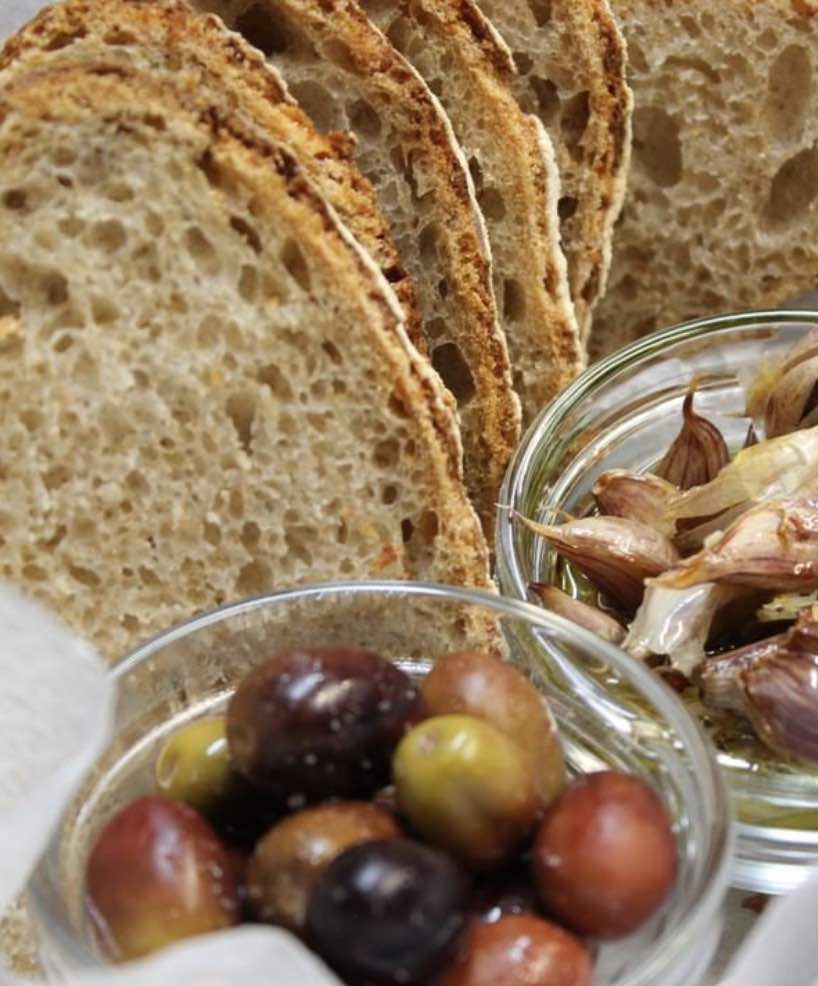
A crackling sound when removed from the oven is the sign that you succeeded in baking the perfect crisp crust for this delicious wholesome loaf.
We build a new No-Dig garden! This one is the first of the permanent garden. We build it with a weed barrier and organic compost from.


A crackling sound when removed from the oven is the sign that you succeeded in baking the perfect crisp crust for this delicious wholesome loaf.

Serves:
8 people

Time to Prepare:
8 people

Time to cook or cure:
8 people
Serves:
Fermentation & Baking

Serves:
8 people

Time to Prepare:
20 min

Time to cook or cure:
24 hours

Skills:
Fermentation & Baking

The Motherdough Mixture
The Preferment
Final dough
Useful guidelines
Feeding your Starter
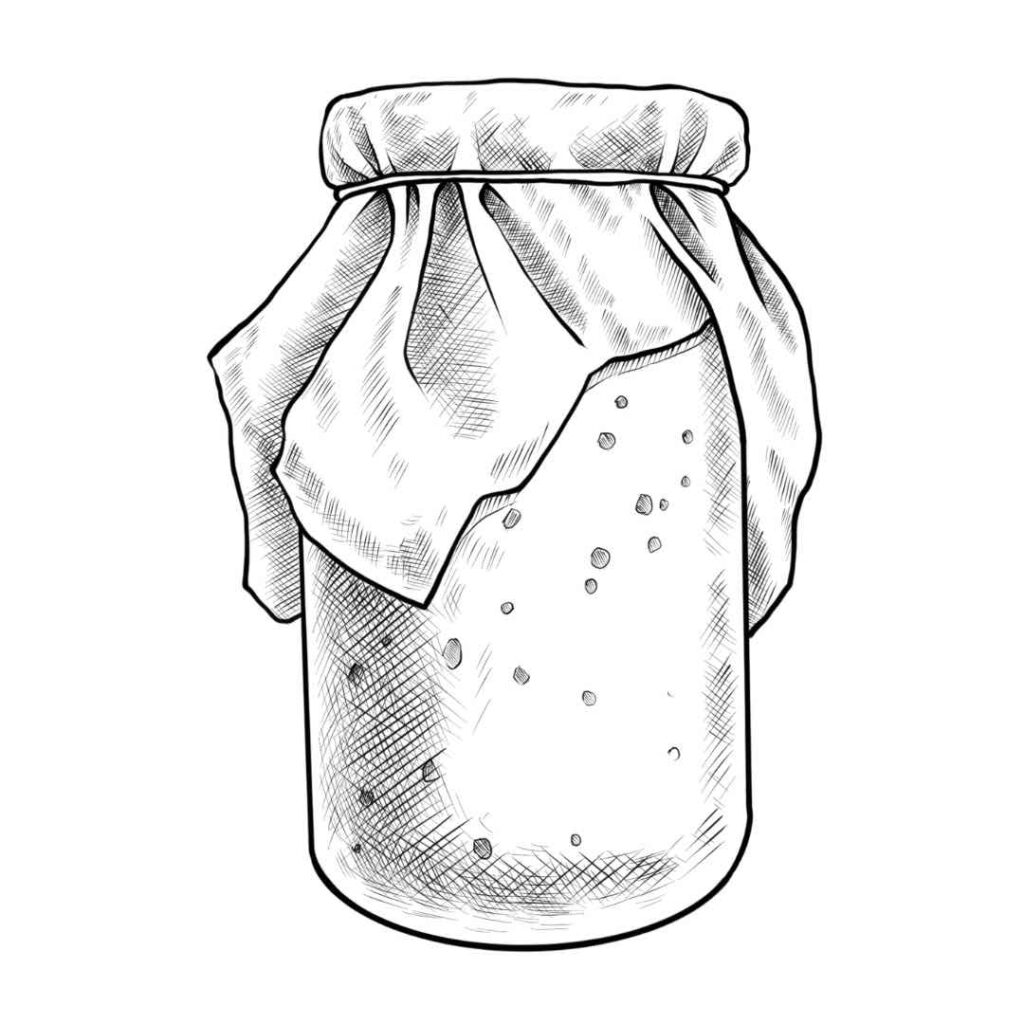
Our Starter is fed 100% Wholemeal Flour, this is to give the bread more flavour as the flour contains the wholegrain. You can use white flour or any other grain you prefer. The best flour for starting end feeding would be rye due to its high nutrient content and levels of naturally present lactobacilli.
Optimum Proving Temperature
Yeast works best at 24C. This can be hard to control at home therefore as a general rule use warm water in the winter and cold/ room temperature water in the summer.
Adding Salt to Bread
Salt is important to add flavour to bread however it is also used to control the activity of the yeast. Adding the salt 20-30 minutes after the first mix gives the yeast a head start.
Folding
Most bread is kneaded to create strong gluten. However, with slow fermentation folding allows the gluten to be formed over a longer period. This process is called autolyse. Water in contact with flour will activate the enzyme that starts to turn the protein glutanine into strong gluten strands.
Shaping
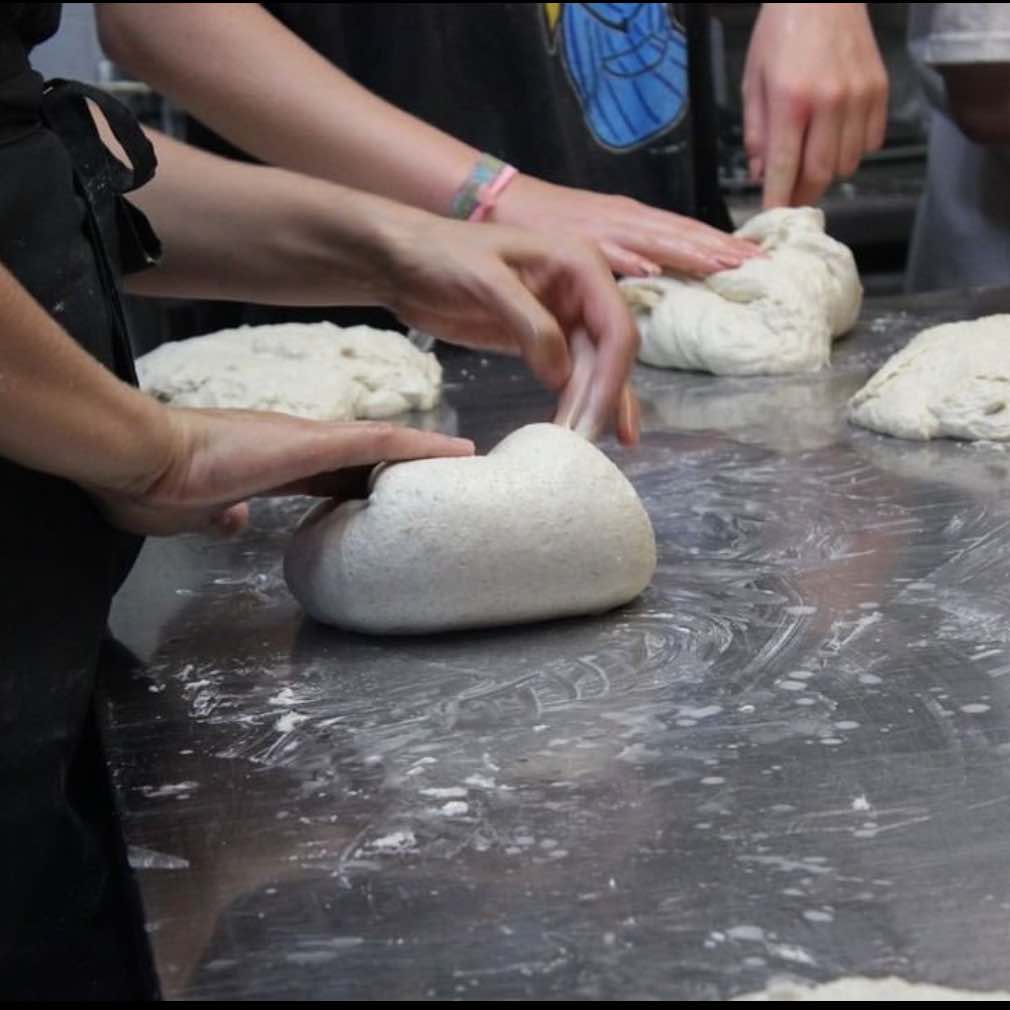
Place your dough on a slightly wet worktop. Knock back the dough while shaping it into a rectangle. Fold the edge furthest away from you 2/3rd of the way down and press into the dough. Fold the edge nearest to you on top and press again. Gently stretch out the dough (left to right), and then fold the left edge 2/3rd of the way and then the right side, pressing firmly. Start by rolling the edge nearest to you away from you. You want to create enough tension on the surface to give the loaf a good shape without tearing the gluten.
Baking
It is important to preheat your oven. If you are planning on using either a baking tray or stone it is also important to preheat these. If you oven does not have a steam setting then place a pan of boiling water in the oven during the preheating.
Simply follow these steps:
STEP 1 : Make the preferment
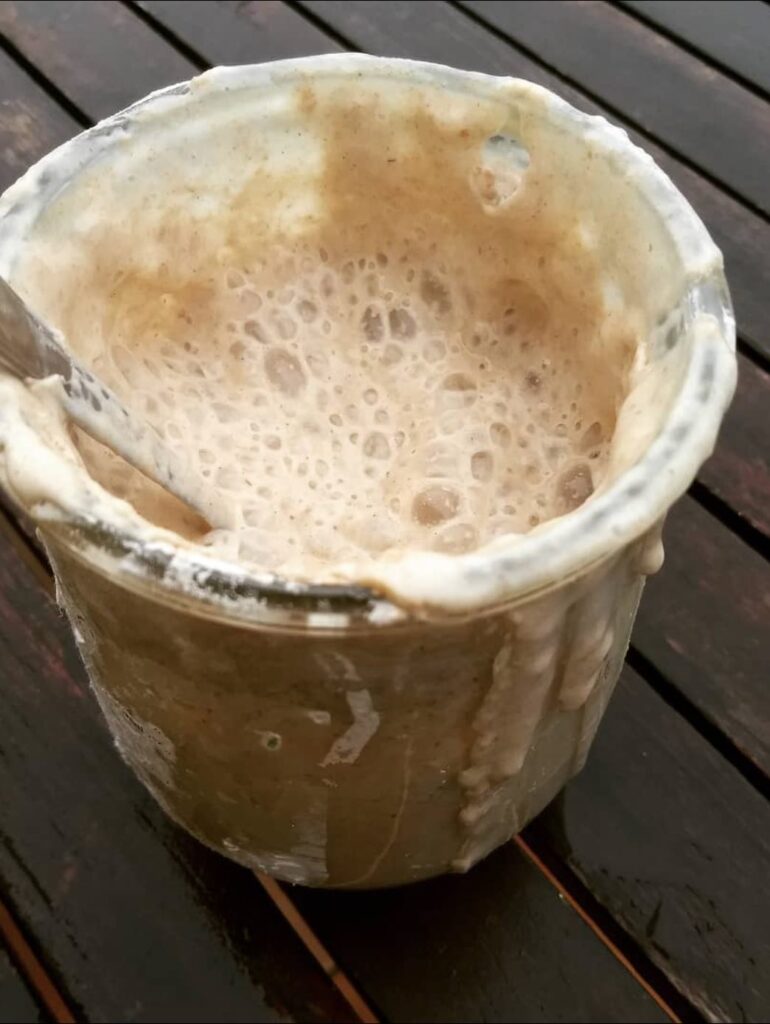
Mix all ingredients together. Leave for approx. 8hrs.
STEP 2 : Mix flours, water & preferment
Combine all ingredients until fully mixed.
STEP 3 : Add in salt
After 30 mins add salt and water. Mix until combined.
STEP 4 : Let prove
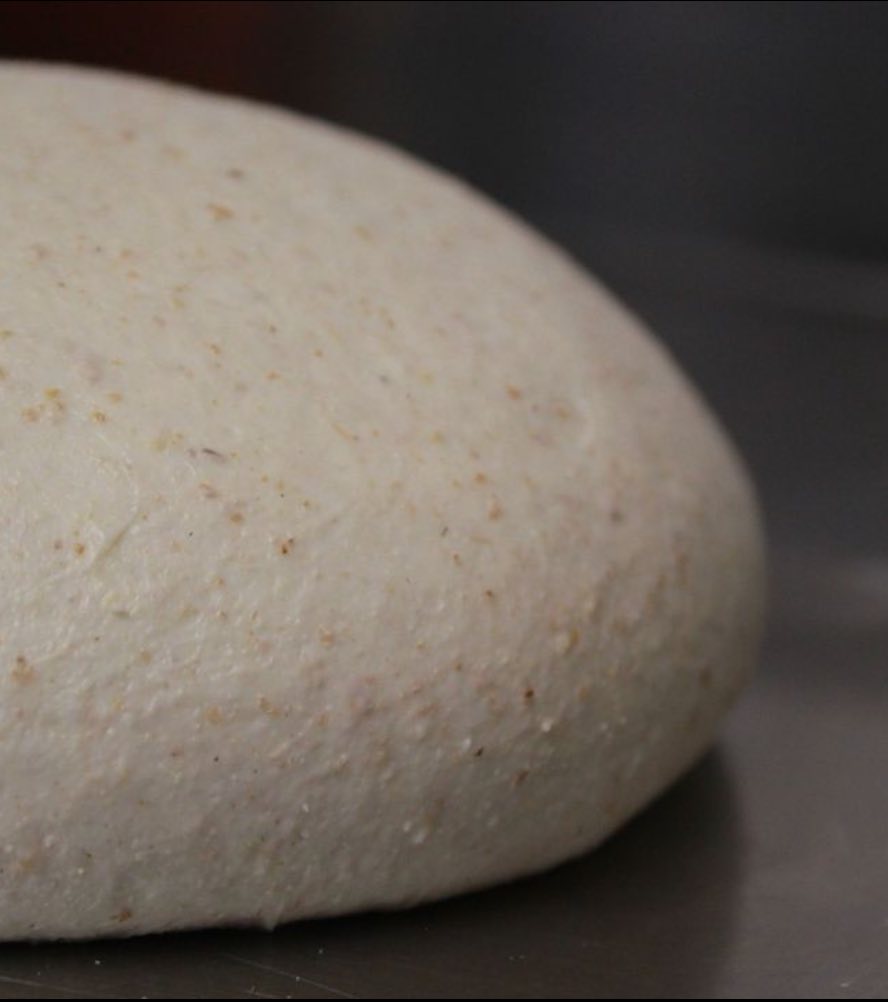
Leave to prove for 3 hours, folding every 30/40 minutes. Until a 80% increase. Folding; tip dough onto a flour surface and fold edges towards the centre.
Step 5 : Shape your loaf
Shape your loaf, creating tension on the surface by working it in a round ball on a smooth table top. Then put it in your floured basket.
Step 6:
Leave to prove in the refrigerator overnight. (8-12hrs)
Step 7:
First Bake at approx. 250C: 15 mins with steam (or with lid of preheated dutch oven) Second bake at approx 200C: 25-35 mins without steam (or without lid of dutch oven)
Storage
Once the bread is baked, let it cool completely on a metal rack. Once it is cool you can start cutting into it. Fresh baked bread is delicious. If you want to keep it from going stale, keep the bread in a cotton bag in a shaded cool place.
PRO TIP:
Sprinkle a little water on the crust and remake for 5 min on 220degrees Celsius if you want to revive it right before you serve it. The bread will become fresh again. But beware, this can only be done once!

Recipe Categories
We lost so much.
Our pastures are destroyed, many of our old olive trees, the young orchards, the irrigation systems, our most important tools, water pumps, and power setup—either melted or destroyed.
Our food and hay stores, the fences, and many of the stable buildings are either damaged or lost entirely.
What took years to build was reduced to ash in a single afternoon.
Ready to Recharge and Enjoy Real Food in Nature?
Cook, connect, and grow in the heart of our regenerative farm.
Real food. Deep rest. Lifelong memories.
