How to Make Fermented Oranges with Salt (Preserved Citrus Recipe)
Fermenting oranges with salt is a traditional and deeply flavorful way to preserve citrus. The salt draws moisture from the fruit and creates a brine, encouraging beneficial bacteria to ferment the oranges naturally. The result is a salty, sour, and fragrant preserved fruit with a complex flavor profile that adds brightness and umami depth to savory dishes.
This is a perfect zero-waste, low-effort preservation technique — and once you’ve tried it, you’ll want a jar in your pantry year-round.
Making fermented oranges
Why Ferment Oranges?
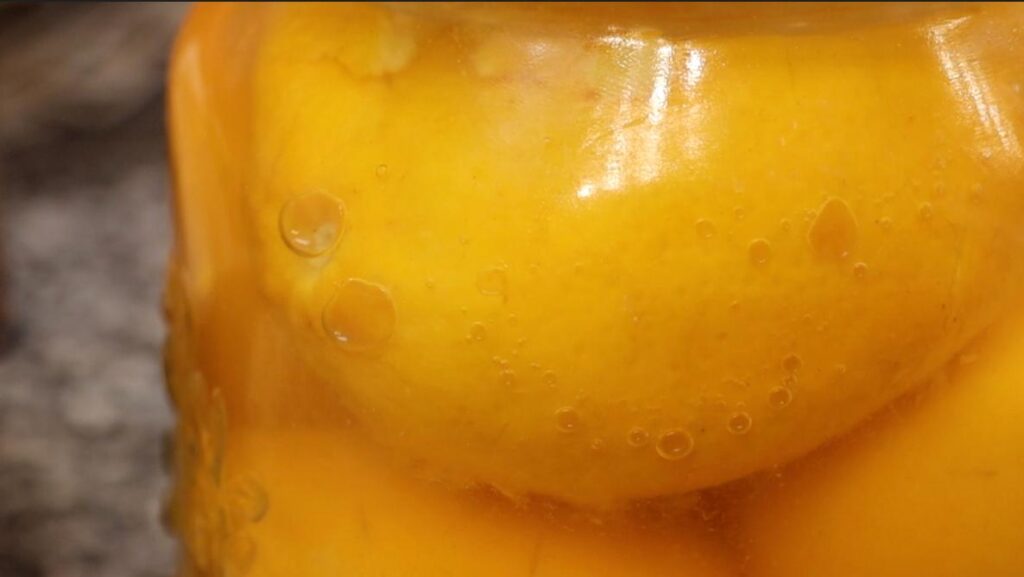
During the fermentation process, the salt draws out moisture from the oranges and forms a natural brine. This environment encourages lactic acid bacteria to break down the sugars in the fruit. Over time, this transforms the oranges into something salty, sour, slightly fizzy, and packed with deep citrus flavor.
Fermented oranges pair beautifully with rich meats, like brawn or lamb, and can cut through fattiness with ease. They also add a zesty, tangy twist to salads, grain bowls, stews, or even a simple garlic mayo sandwich. Just a few pieces go a long way.
Serves:
1 liter jar (8 medium oranges)
Time to Prepare:
20 min
Time to cook or cure:
2 weeks minimum
Skill
Fermentation
Serves:
1 liter jar
Time to Prepare:
20 min
Time to cook or cure:
minimal 2 weeks
Skills:
Fermentation
Ingredients & Tools
Ingredients
1 kg of whole oranges
100 g of salt (non-iodized, sea salt preferred) or 10% of the weight you choose to ferment
Filtered water (enough to submerge the oranges)
Tools
Digital scale
Sharp knife (for piercing fruit)
Spoon
Clean mason jar(s) with airtight lids
Fermentation weight or submersion device (optional but helpful)
Useful guidelines
How to Use Fermented Oranges
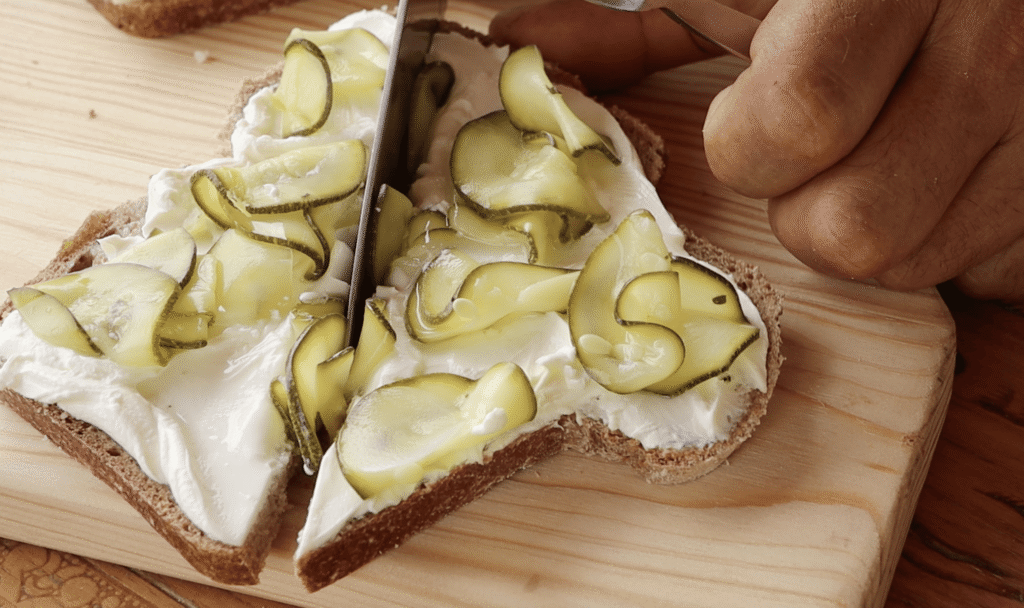
These oranges are incredibly versatile and burst with flavor. Chop them finely and:
Add to rich sandwiches (they’re divine with homemade brawn and garlic mayo)
Mix into grain salads or couscous
Slice into tagines or slow-cooked meats
Add to roasted vegetables or vinaigrettes
Or blend into a citrusy, fermented dressing
Storage
After the initial fermentation, it’s best to store the jar in the fridge to prevent spoilage and extend shelf life. Always use clean utensils when removing oranges to avoid contamination. Kept cold and clean, these fermented oranges can last several months.
Directions to make fermented oranges:
1. Prep the Oranges:
Wash the oranges thoroughly.
Using a knife or skewer, pierce the skin of each orange multiple times. This allows the brine to penetrate the fruit and speeds up fermentation.
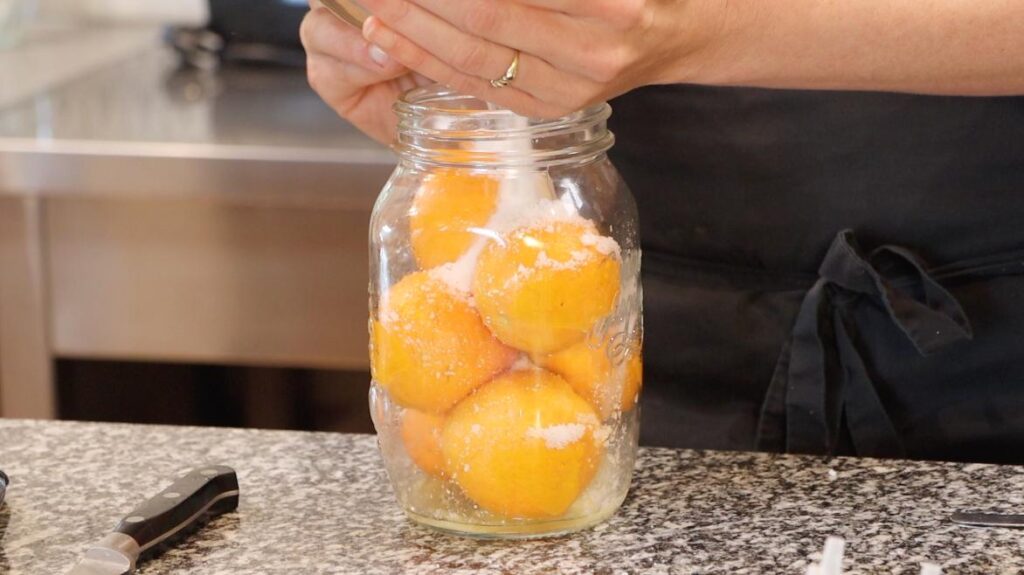
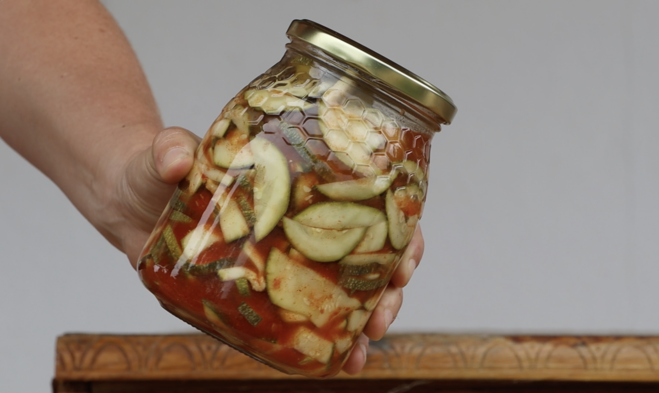
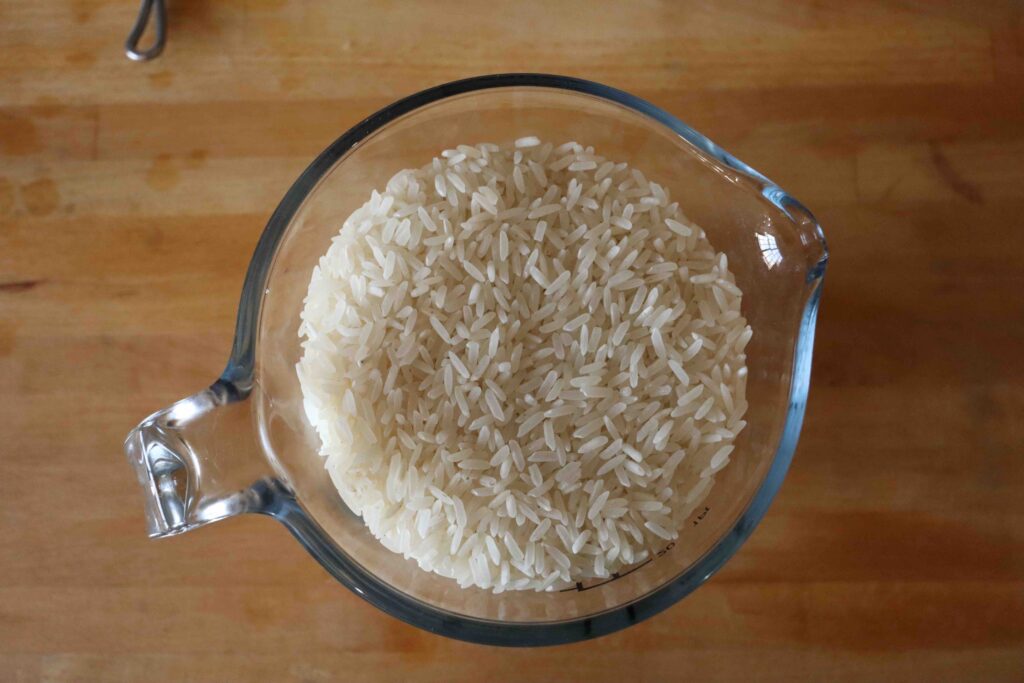
2. Salt and Pack the Jar:
Sprinkle a bit of the salt inside the jar.
Layer the pierced oranges into the jar, pressing down gently as you go.
Add the rest of the salt on top.
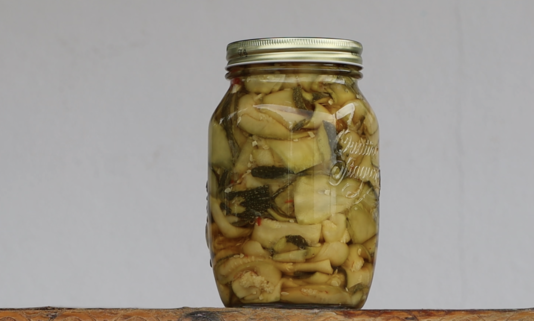
3. Add Water and Submerge:
Pour in filtered water until the oranges are fully submerged.
Use a fermentation weight or a clean object to keep the fruit underwater.
Leave about 2–3 cm of headspace at the top.
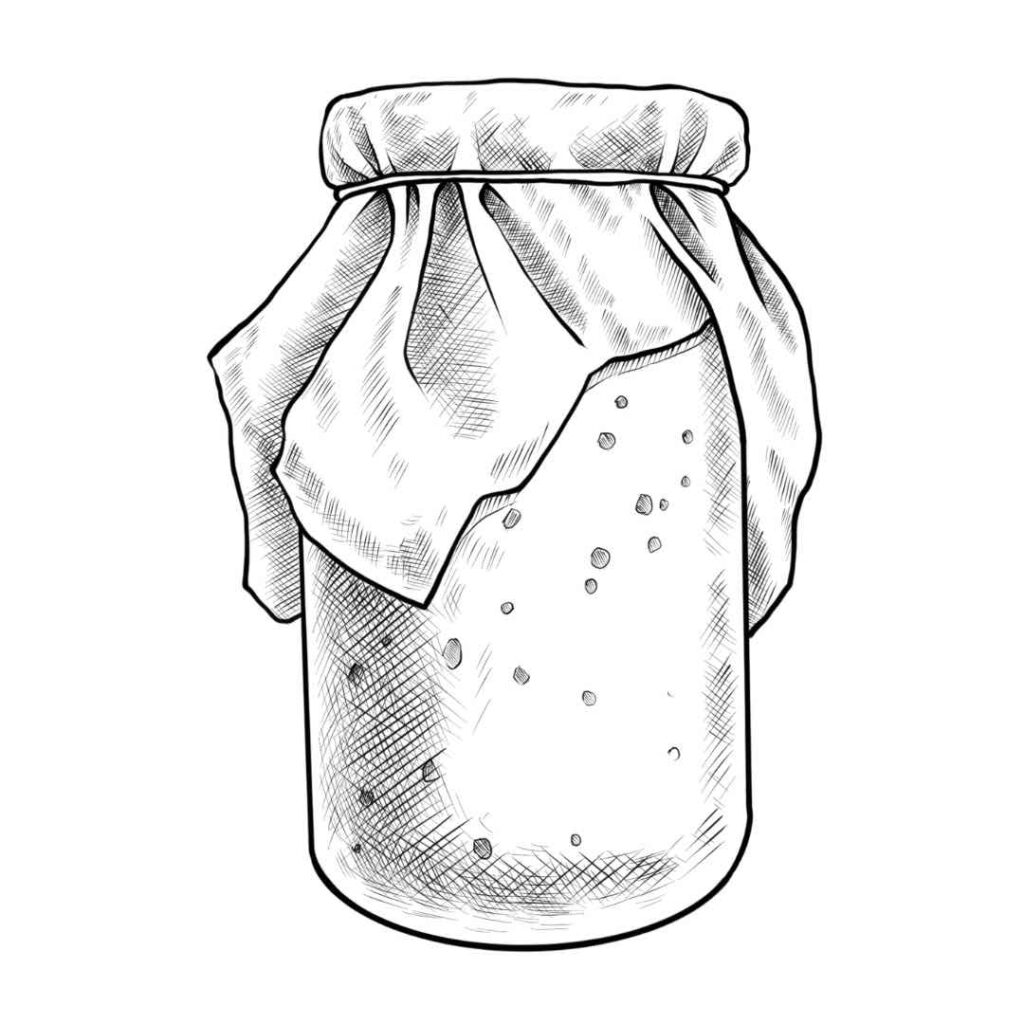
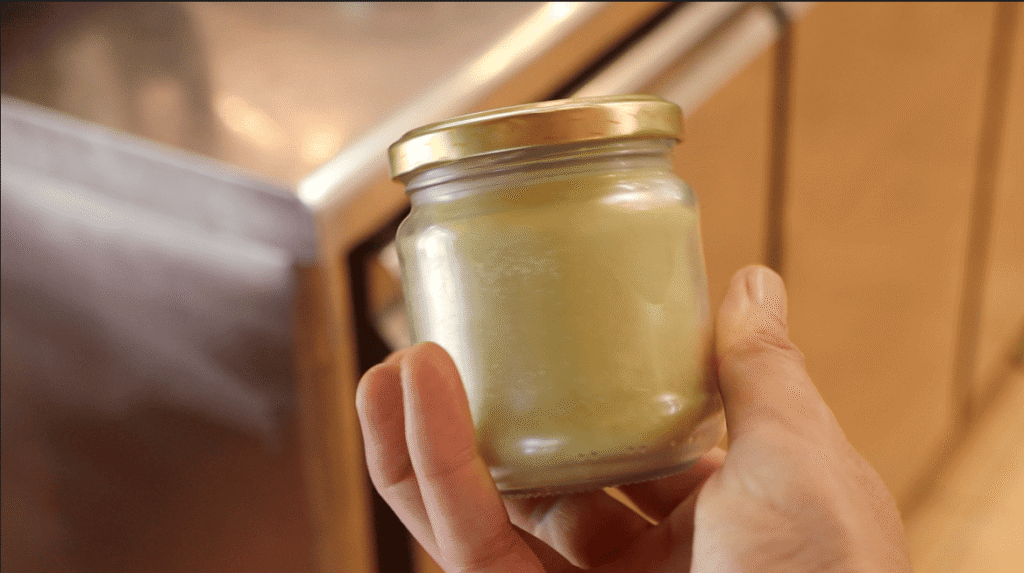
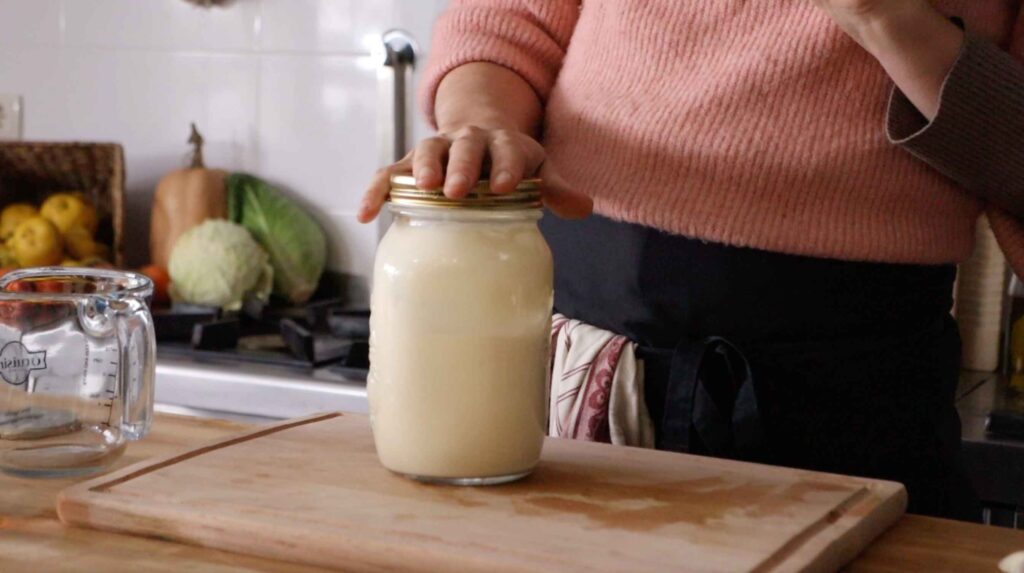
4. Ferment:
Close the jar loosely or use a fermentation lid.
Store in a dark, room-temperature spot.
Burp the jar daily for the first 7 days by opening the lid briefly to release gas.
You’ll notice bubbling, fizzing, and a slight citrus scent — all signs it’s working!
5. Ready to Eat:
After about 1–2 weeks, the oranges will smell tangy and taste deeply salty and sour.
Once they stop releasing gas, you can start using them.
Our pastures are destroyed, many of our old olive trees, the young orchards, the irrigation systems, our most important tools, water pumps, and power setup—either melted or destroyed. Our food and hay stores, the fences, and many of the stable buildings are either damaged or lost entirely.
What took years to build was reduced to ash in a single afternoon.