Caramelized Onions

In this video Sophie explains how she uses two very successful tricks to decrease your cooking time when caramelizing onions. Caramelizing onions become fast and easy with these techniques. These tricks ensure beautiful, golden brown, evenly caramelised onions time after time.https://www.youtube.com/watch?v=cys40uUZhNc

Caramelised onions (and a quick soup)

Sophie The Farming Chefs

These two tricks are worth your weight in gold, especially when you are in a rush. Caramalizing onions can take a long time when done properly. Wirth these two tricks you will cut your cooking time in half!

servings

Serves:

8 people

Time to Prepare:

8 people

hour glass

Time to cook or cure:

8 people

Skill

Serves:

Fermentation & Baking

servings

Serves:

4 people

Time to Prepare:

10 min

hour glass

Time to cook or cure:

30 min

Skill

Skills:

carmalization


Watch it step by step

Ingredients

The Onion

The Soup

Useful guidelines

cut your onions even size

Your onions should be evenly sliced.

Use oil, not butter.

Butter will have the mil solids burn before your onions are evenly golden. If you want to introduce butter, do it in the end of the process.

Directions

Simply follow these steps:

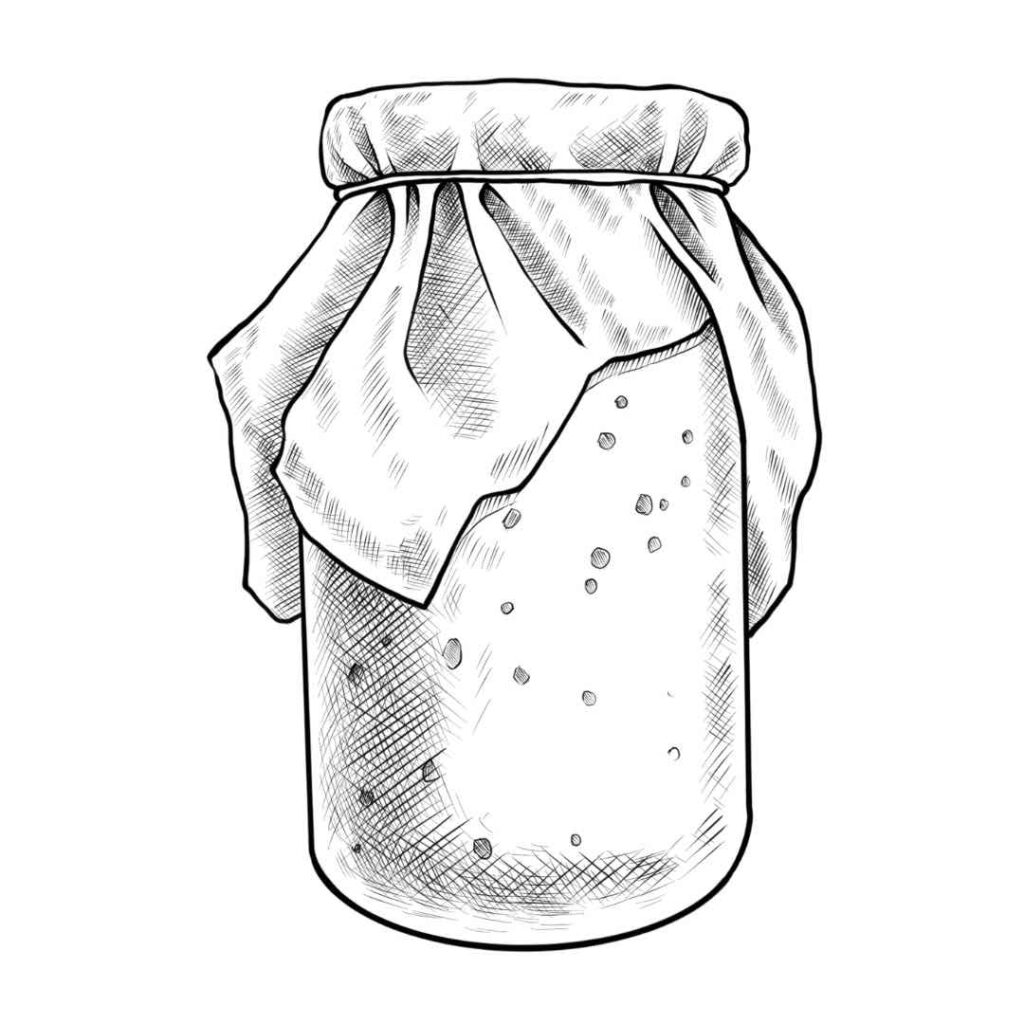
STEP 1 : Make the preferment

Mix all ingredients together. Leave for approx. 8hrs.

STEP 2 : Mix flours, water & preferment

Combine all ingredients until fully mixed.

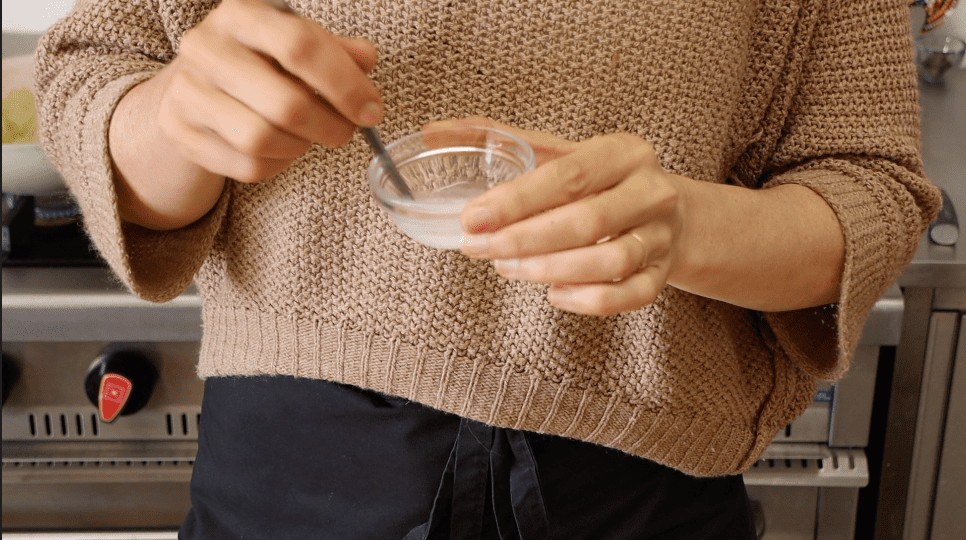
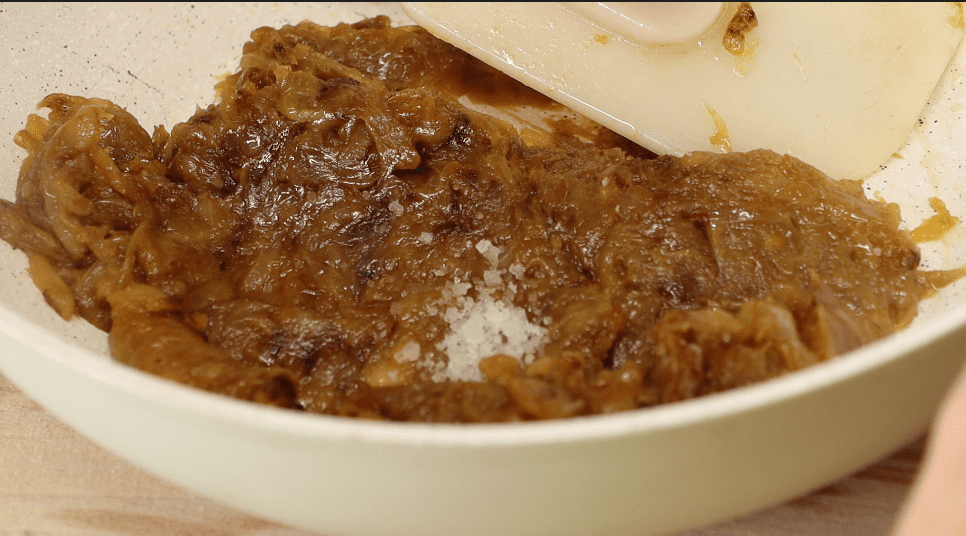
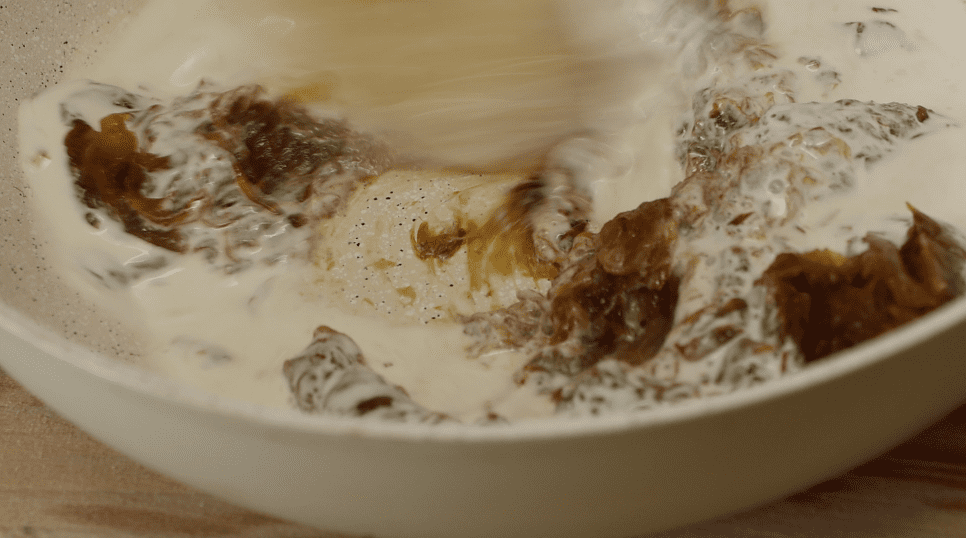
STEP 3 : Add in salt

After 30 mins add salt and water. Mix until combined.

STEP 4 : Let prove

Leave to prove for 3 hours, folding every 30/40 minutes. Until a 80% increase. Folding; tip dough onto a flour surface and fold edges towards the centre.

Step 5 : Shape your loaf

Shape your loaf, creating tension on the surface by working it in a round ball on a smooth table top. Then put it in your floured basket.

Step 6:

Leave to prove in the refrigerator overnight. (8-12hrs)

Step 7:

First Bake at approx. 250C: 15 mins with steam (or with lid of preheated dutch oven) Second bake at approx 200C: 25-35 mins without steam (or without lid of dutch oven)


Storage

Once the bread is baked, let it cool completely on a metal rack. Once it is cool you can start cutting into it. Fresh baked bread is delicious. If you want to keep it from going stale, keep the bread in a cotton bag in a shaded cool place. 

PRO TIP:

Sprinkle a little water on the crust and remake for 5 min on 220degrees Celsius if you want to revive it right before you serve it. The bread will become fresh again. But beware, this can only be done once!


Facebook


Youtube


Instagram


Print Recipe


Building Flavour: learn how!

Cured Meats


Click Here

Dairy Products


Click Here

Fermented Vegetables


Click Here

Recipe Categories 

Latest videos

Caramelising onions fast

How to Caramelize Onion Super

bifana

How to make a Bifana

Poultry on the land, The Farming Chefs

Benefits of having poultry on

Filipe from the Farming Chefs planting trees

700x the Root Growth

Sophie from the farming chefs

6 Tips to becoming a

Filipe pruning

Update from the Farm

Plating the whole

Whole Roasted Carrots with Salty

How and why we fenced

Peel quince skin off with the back of knife

Portuguese Quince Marmelade

3 reasons we bought sheep

Three Reasons we Bought Sheep

Latest Recipe Posts

measure out rice, The Farming Chefs

Simply fantastic white rice

Pliable Flatbreads

Pliable Flatbreads

spoon drizzles cream on sweet potato soup

Sweet Potato & Curry Soup

Basic Herb Vinaigrette

Basic Soft Boiled Egg

Basic Soft Boiled Egg

Whole Egg Mayonnaise

Whole Egg Mayonnaise

Sourdough Bread