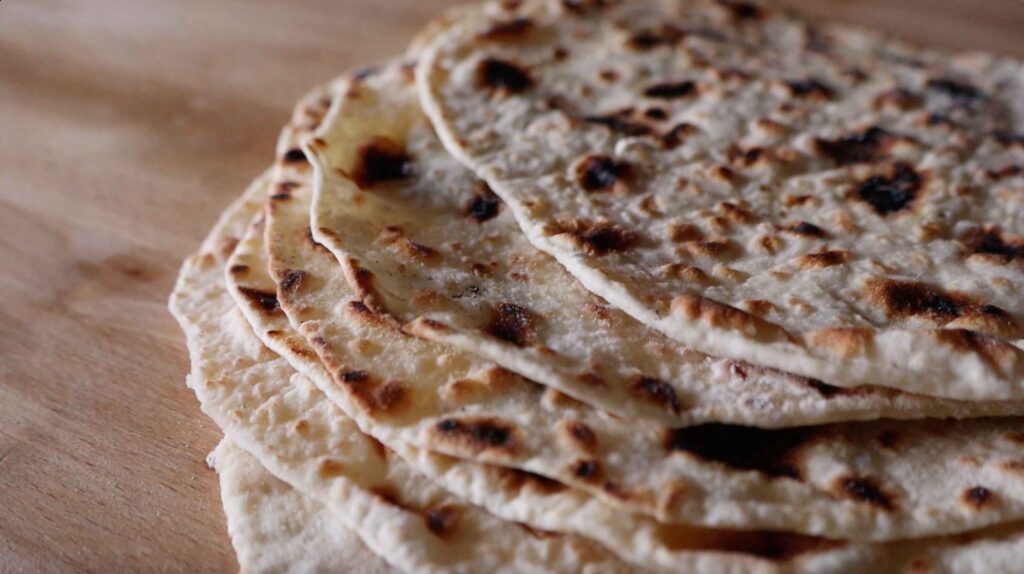
Home made pita pockets
Step into your kitchen and embark on a journey of culinary delight with homemade pita pockets. Discover the satisfaction of crafting these soft, fluffy pockets from scratch, perfect for filling with your favorite ingredients. From kneading the dough to watching them puff up in the oven, embrace the joy of creating a versatile staple right in your own home.


Serves:
8 pockets + 1 little one
Time to Prepare:
1,5 hour rising & shaping

Time to cook or cure:
6-8 min
Skill
Baking, rolling

Serves:
8 people
Time to Prepare:
1,5 hour of rising & shaping
Time to cook or cure:
6-8 min
Skills:
Baking and rolling

Ingredients & Tools
Ingredients
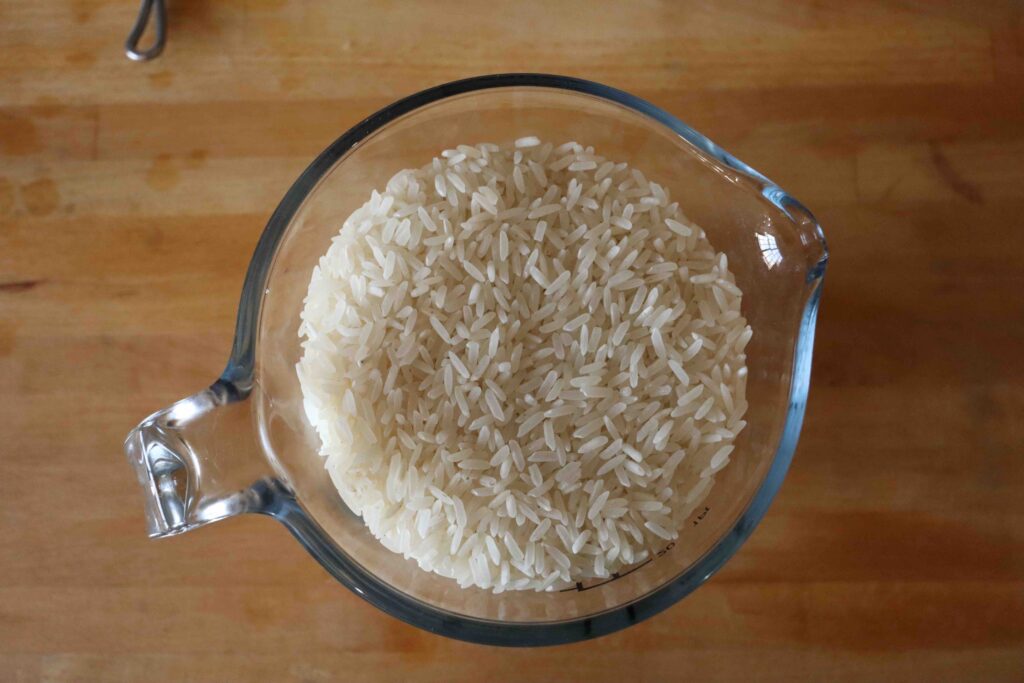
- 500 gr flour
- 5 gr yeast
- 3 gr salt
- 1 gr sugar
- 200 gr luke warm water
- Extra flower for dusting
Tools
- Bowl for mixing
- Rolling pin
- Baking sheet
- Oven
- Wet cloth
Useful guidelines
Why salt can inhibit your yeast’s potency!
Baker’s yeast may struggle to rise effectively in the presence of high levels of salt due to its osmotic properties. Salt draws moisture out of yeast cells through osmosis, causing dehydration and hindering their ability to ferment and produce carbon dioxide gas, which is essential for dough rising. Consequently, excessive salt can slow down or even inhibit yeast activity, leading to less impressive rise in baked goods.
Directions
Simply follow these steps in order to make home made pita pockets:
Step 1:
Mix all ingredients into a bowl and kneed well until the dough is smooth. Then cover it with a wet towel and set aside in a warm place to rise.
Step 2:
Let rise for at least 1 hour, or until the dough doubles in size.
Step 3:
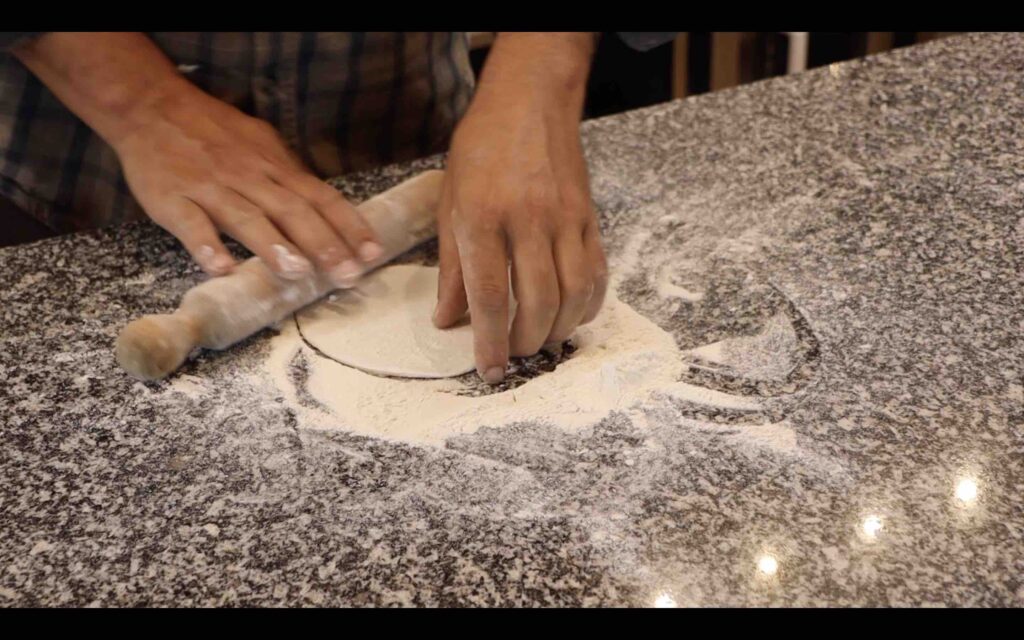
Weigh out balls of 80 gram each and shape them into small ‘boules’
Step 4:
In a little mount of flour shape it by gently rolling out 10 cm diameter circles of about 0.5 cm thick.
Step 5:
Bake in a very well preheated oven of about 260 degrees celsius or 500 degrees Farenheit for 6-8 minutes until they puff up and get a little colour on them.
Storage
To maintain freshness and extend the shelf life of pita bread, store it in an airtight container or resealable plastic bag at room temperature. Alternatively, you can freeze them in a freezer-safe bag for longer-term storage. When ready to eat, simply thaw at room temperature or reheat briefly in a toaster or oven to restore their softness and warmth.
PRO FLOUR CHOISE TIP:
Optimal flour types for making pita bread typically include:
All-Purpose Flour: This versatile flour is readily available and works well for pita bread. It provides a balance of protein and gluten, resulting in a soft and flexible texture. This choice is best for first time baker’s as the high gluten content will ensure a good rise. However this is not the most wholesome choice, as the bran and gem are no longer present in the flour, diminishing it’s nutritional value.
Bread Flour: With a higher protein (gluten) content compared to all-purpose flour, bread flour produces pita bread with a slightly chewier texture and better structure. It’s ideal if you prefer a more substantial pita. Make sure to use organic flour!
Whole Wheat Flour: Adding whole wheat flour or using it exclusively can result in a denser and nuttier-flavored pita bread. It’s a healthier option due to its higher fiber content. It is aa little harder to get a great rise out of them…
White Whole Wheat Flour: This flour, made from a different variety of wheat (white hard wheat, as opposed to red wheat), offers the nutritional benefits of whole wheat flour with a milder taste closer to that of all-purpose flour. It’s a good compromise for those seeking both health benefits and a lighter texture.
Semolina Flour: Rolling your pitas out in a bit of semolina flour or substituting it for part of the all-purpose flour can enhance the texture of pita bread, making it slightly chewier and adding a subtle nuttiness.
Ultimately, the choice of flour depends on personal preference and dietary considerations. Experimenting with different flour types or combinations can help you achieve the perfect pita bread for your taste.
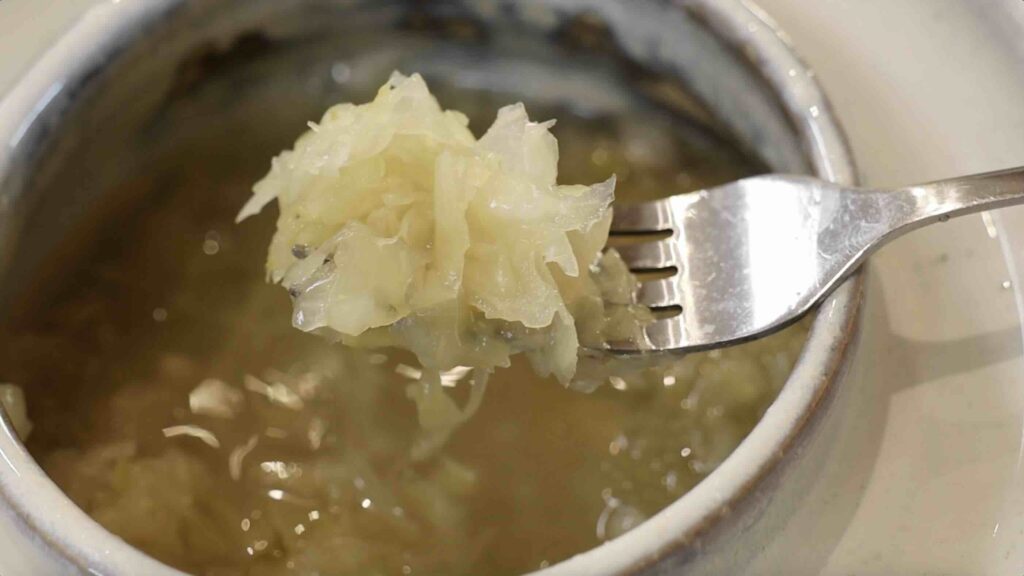
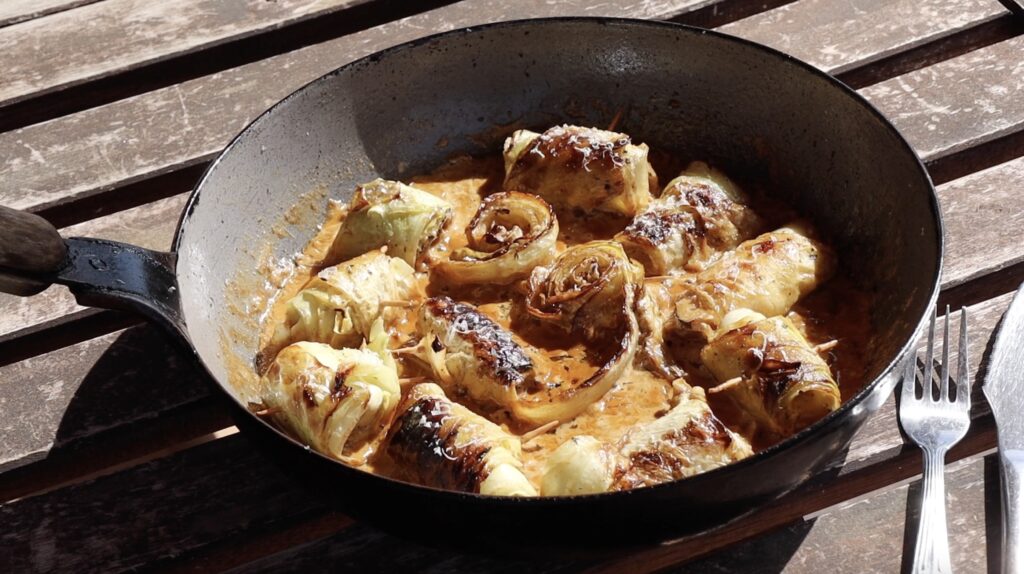
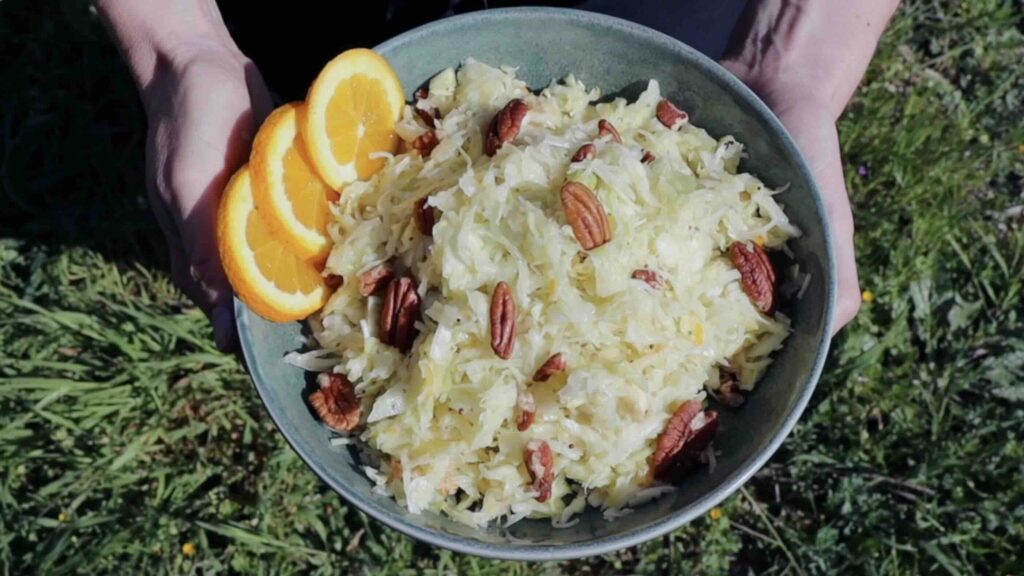
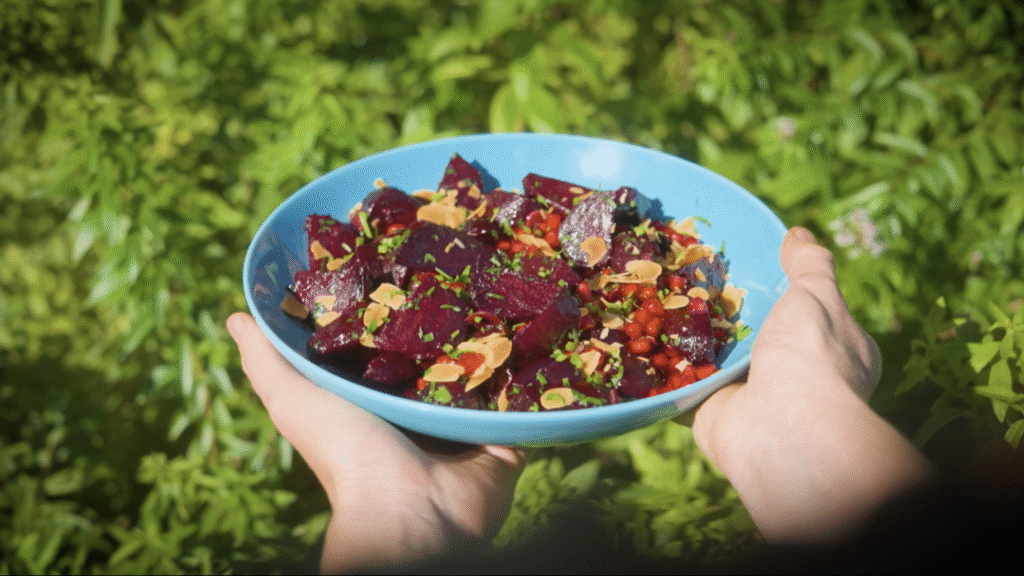
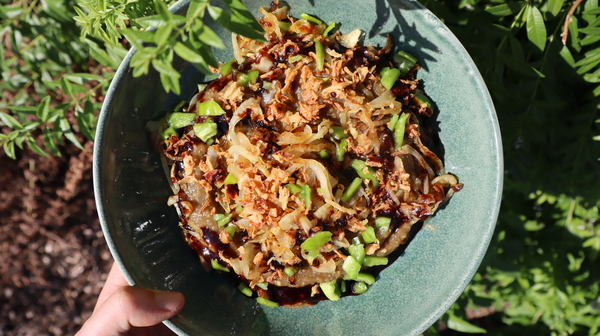
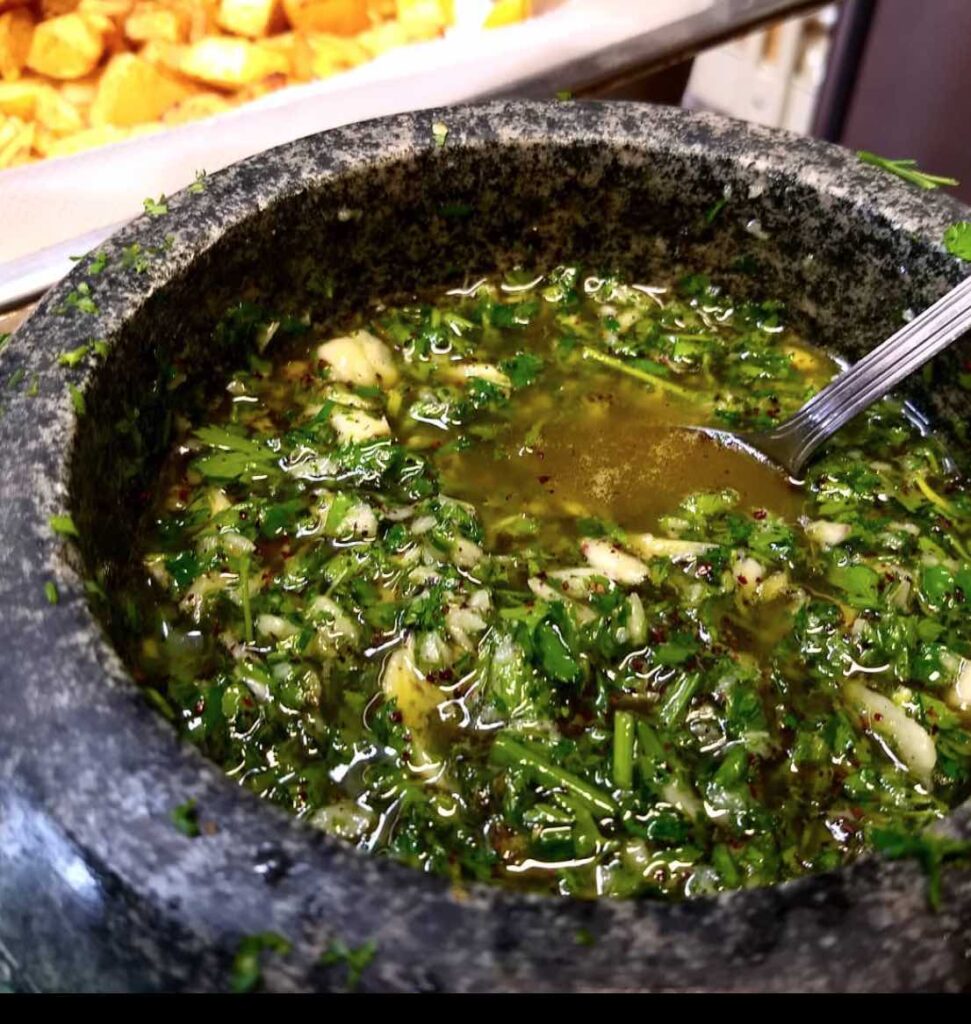
Fermented Vegetables

Recipe Categories