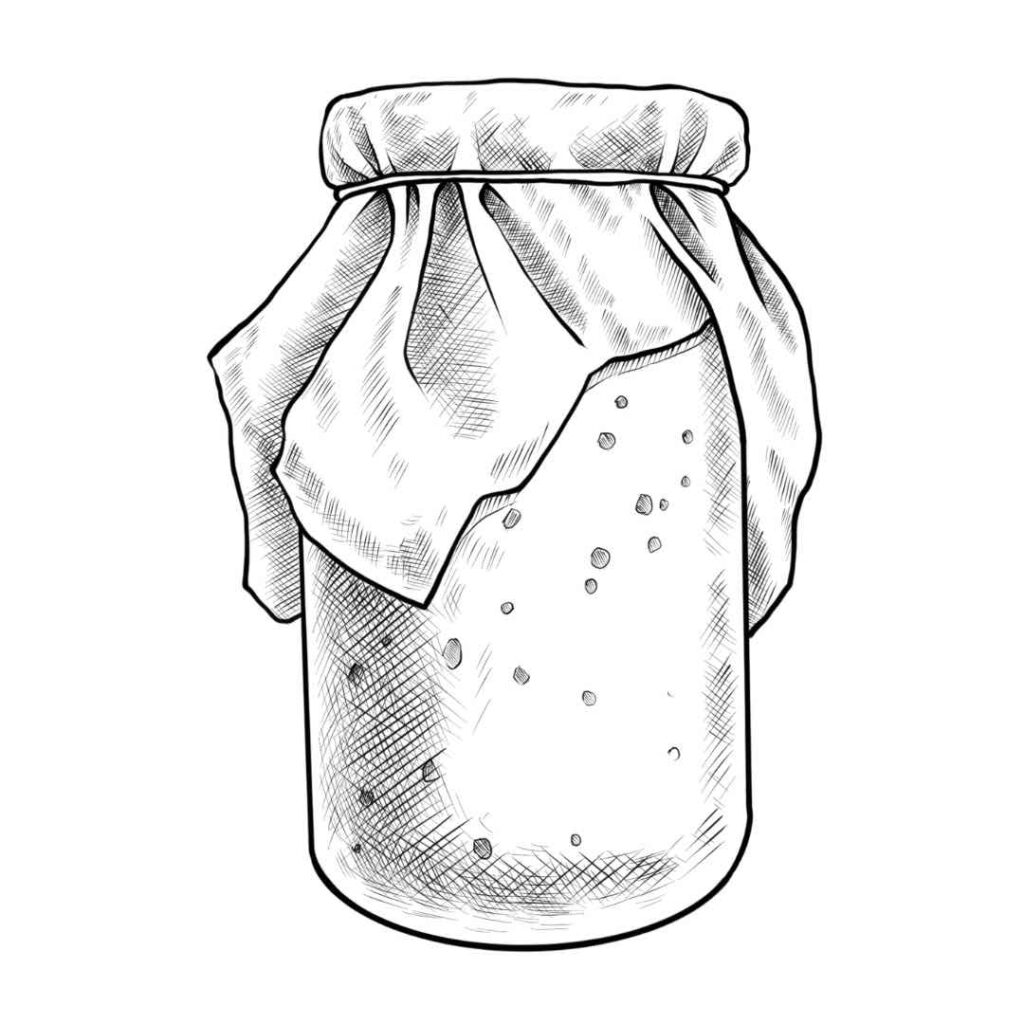
Making and maintaining a sourdough starter at home is the first step to baking delicious, naturally leavened bread. With just a few simple ingredients and some patience, you can cultivate a starter that will give your bread a tangy flavor, beautiful rise, and amazing texture. Here’s a complete guide to creating and caring for your sourdough starter.
What is a Sourdough Starter?
A sourdough starter is a mixture of flour and water that captures wild yeast and bacteria from the environment. These microorganisms ferment the mixture, creating a natural leavening agent for bread. Unlike commercial yeast, a starter gives sourdough bread its unique flavor and texture.
Ingredients
120 g all-purpose or whole wheat flour
120 g water (room temperature, preferably filtered)
Equipment
A clean glass jar or container (at least 500 ml capacity)
A spoon or spatula
A kitchen scale for accuracy
In your jar, mix 120 g of flour with 120 g of water. Stir until combined into a thick batter.
Cover the jar loosely with a lid or a clean kitchen towel to allow airflow while keeping contaminants out.
Place the jar in a warm spot, ideally between 21°C and 27°C (70°F to 80°F).
Check your jar for bubbles—a sign of fermentation. If there are no bubbles, don’t worry; it may take longer.
Discard half of the mixture (about 120 g). Add 120 g of fresh flour and 120 g of water to the remaining starter. Stir well.
Cover loosely and return to the warm spot.
Repeat the feeding process every 24 hours:
Discard half of the starter.
Add 120 g of flour and 120 g of water.
By day 3 or 4, you should see consistent bubbling and an increase in volume.
Your starter is ready to use when it doubles in size within 4-6 hours after feeding and has a pleasant, tangy aroma.
Once your starter is active and ready, you need to maintain it to keep it alive and healthy. Here’s how:
Daily Feeding (for frequent baking):
Discard half of the starter and replenish with equal parts flour and water by weight (e.g., 50 g starter, 50 g flour, 50 g water).
Weekly Feeding (for occasional baking):
Store the starter in the refrigerator. Once a week, remove it, discard half, and feed it as above.
Use the same type of flour consistently to keep your starter’s ecosystem stable.
Always feed your starter with equal parts flour and water by weight for best results.
Keep your jar clean to avoid buildup of dried starter on the sides.
1. No Bubbles or Growth
Problem: Your starter isn’t showing signs of fermentation.
Solution: Move it to a warmer spot, use whole wheat or rye flour for a boost, and give it more time.
2. Starter Smells Off
Problem: It smells like acetone, vinegar, or rotten.
Solution: This is a sign of hunger. Feed your starter more frequently or refresh it by discarding all but a small amount (e.g., 10 g) and feeding it with fresh flour and water.
3. Mold Growth
Problem: Visible mold on the surface or sides of the jar.
Solution: Unfortunately, you need to discard the starter and start fresh.
Weigh Your Ingredients: Precision is key. A kitchen scale ensures consistent results.
Temperature Matters: A warm environment accelerates fermentation, while a cooler one slows it down.
Patience is Key: It may take up to a week for your starter to be ready. Trust the process.
Save Your Discards: Use the discarded portion of your starter to make pancakes, crackers, or waffles—waste not, want not!
When baking, feed your starter 4-6 hours before you need it, and use it at its peak (when it’s bubbly and has doubled in size). Always leave some starter in the jar to continue feeding for future bakes.
With this guide, you’ll have a thriving sourdough starter that’s ready to produce amazing bread and other baked goods. Enjoy the process and happy baking!